Skip to content
Menu
Menu
ALL Recipes
Appetizers
Main Dishes
Side Dishes
Salads
Desserts
Drinks
ABOUT ME
CONTACT
PRIVACY POLICY
Appetizers
Fried Mushrooms: A Crispy Culinary Excursion
Pigs in a Blanket: Comfort in Every Bite
Irresistible Halloumi Fries: A Family Favorite
Cheesy Nostalgia: Homemade Mozzarella Sticks
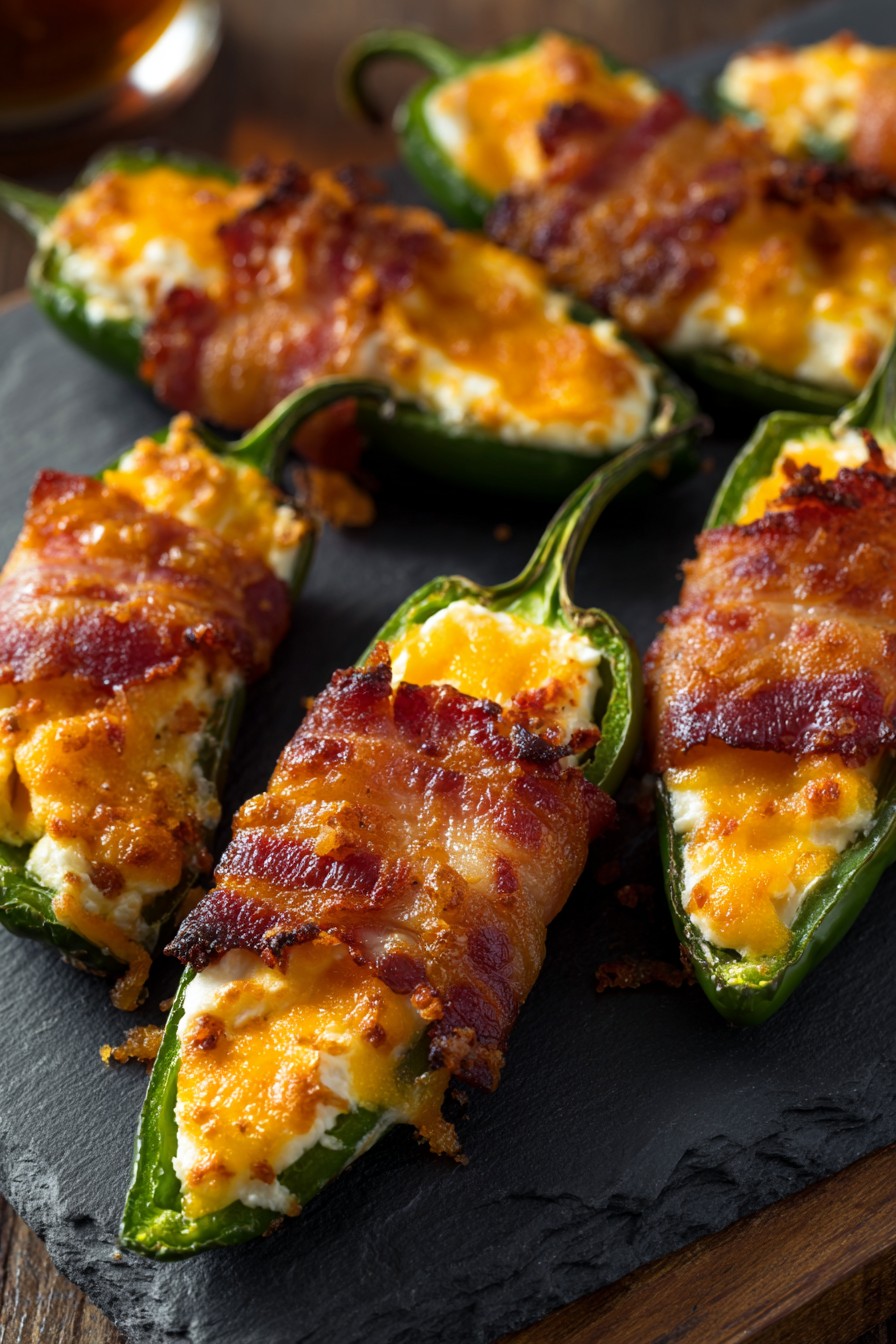
Smoked Jalapeño Poppers: A Spicy Romantic Treat
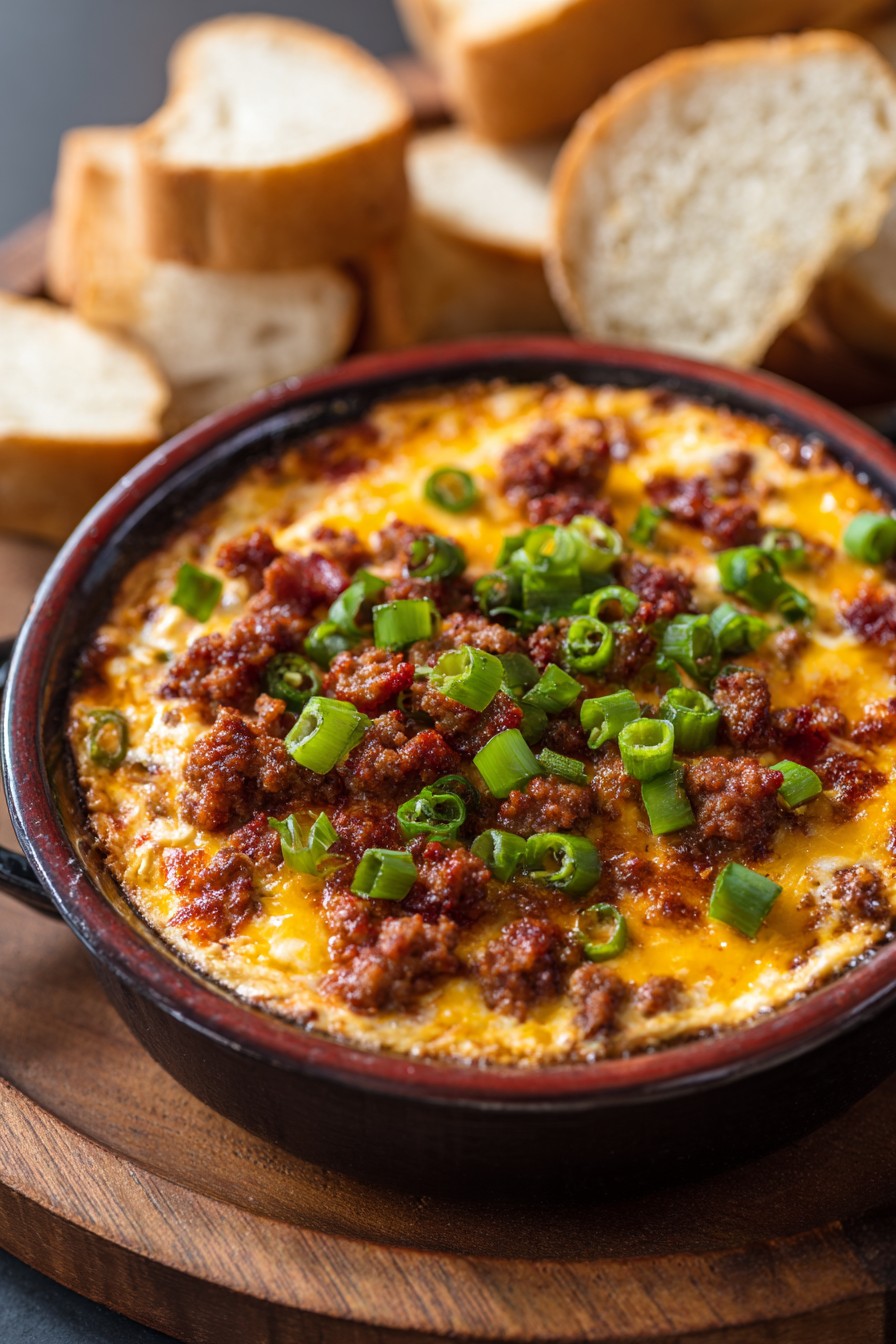
Corned Beef Dip Delight: The Party Must-Have!
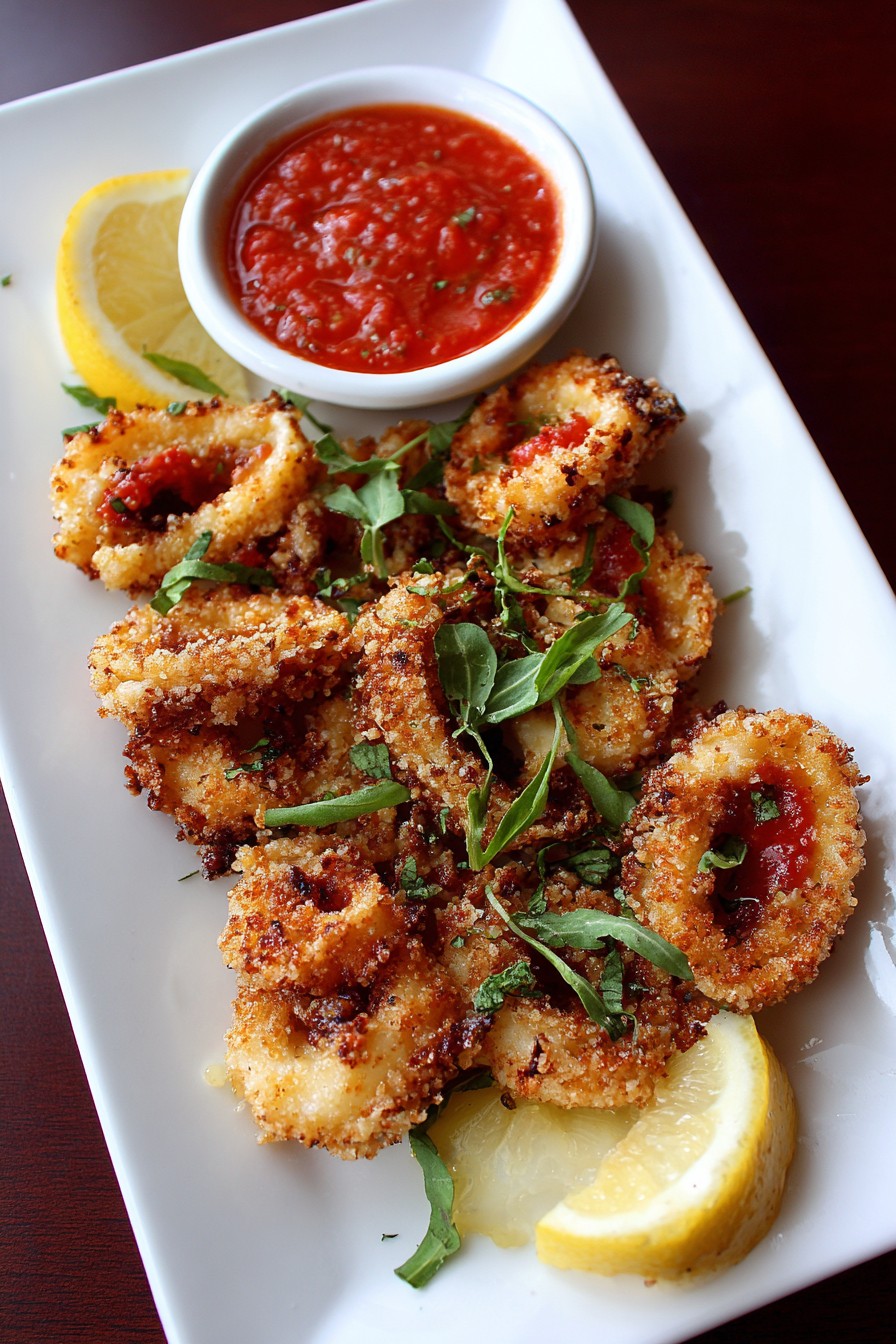
Crispy Fried Calamari: Quick and Simple Family Favorite
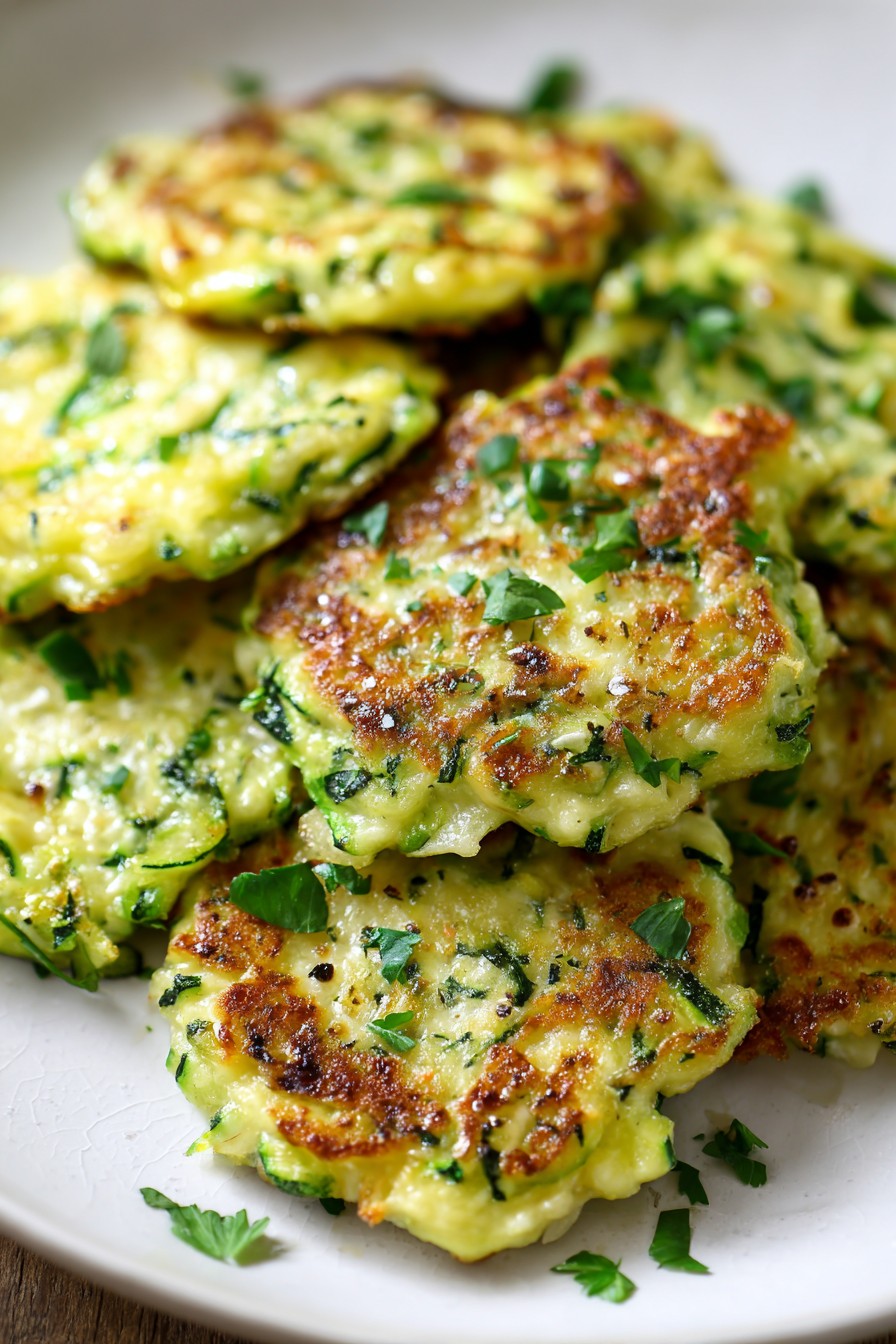
Zucchini Fritters: Savory Farmhouse Comfort
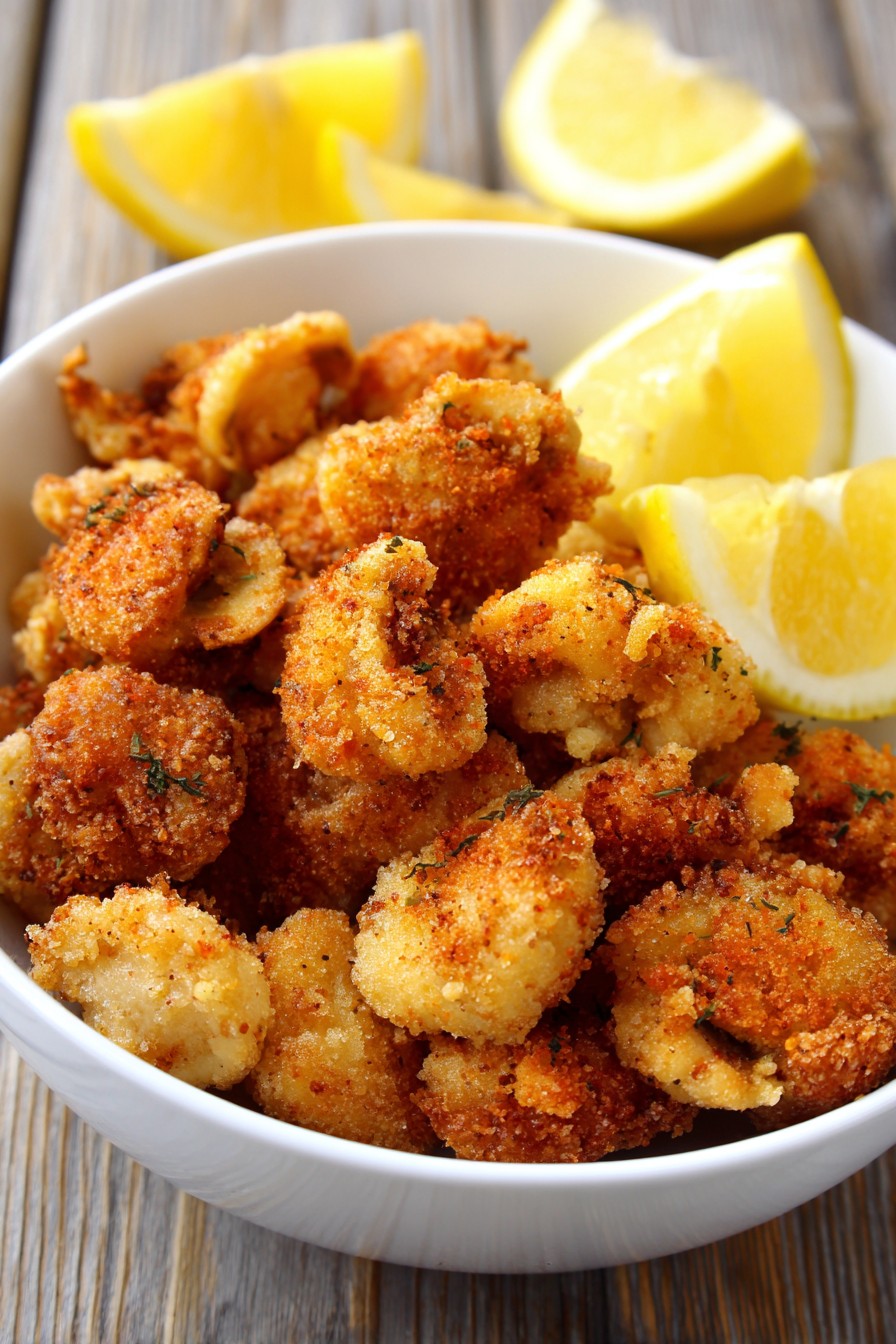
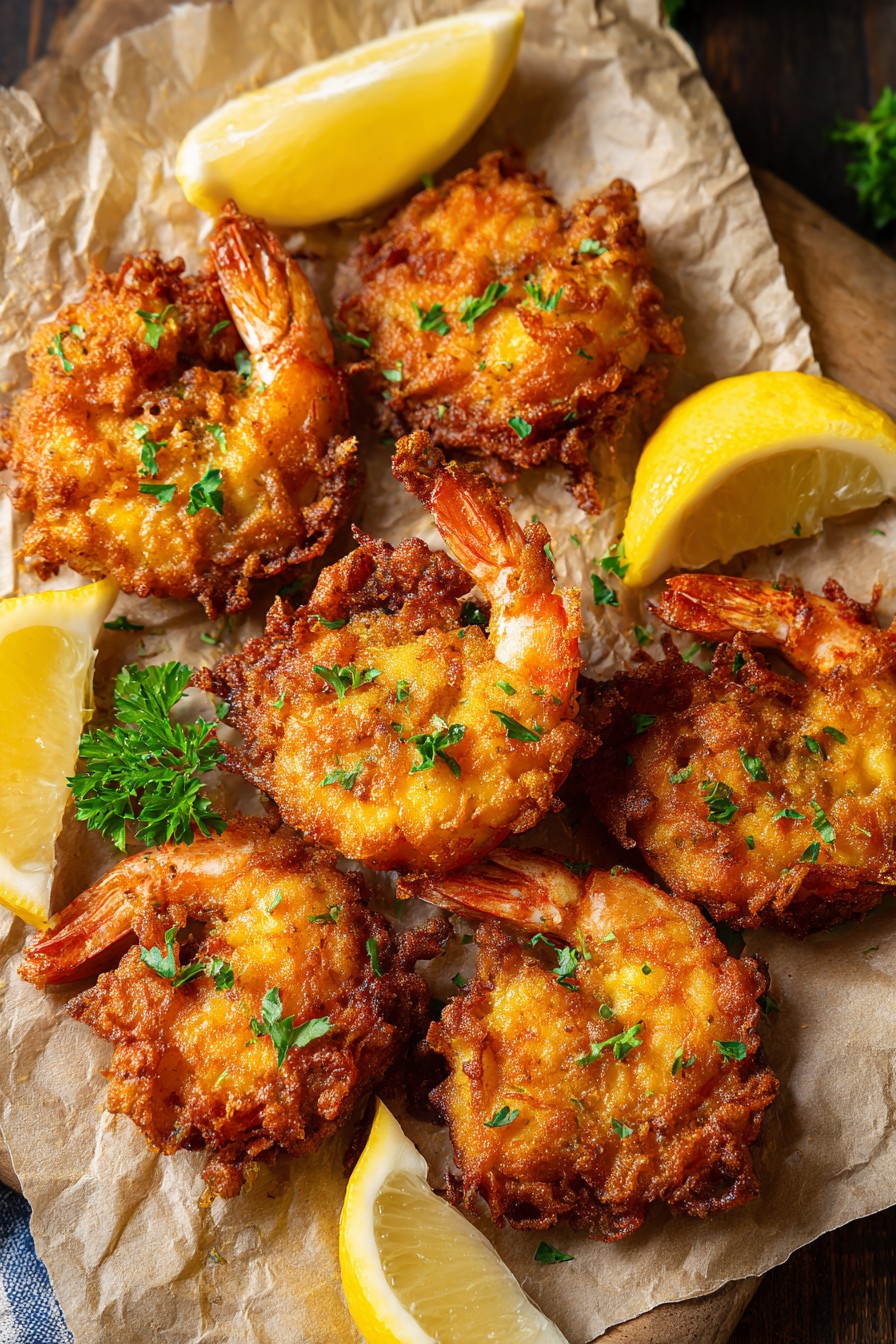
Crispy Shrimp Fritters: A Delicate Crisp Delight Awaits
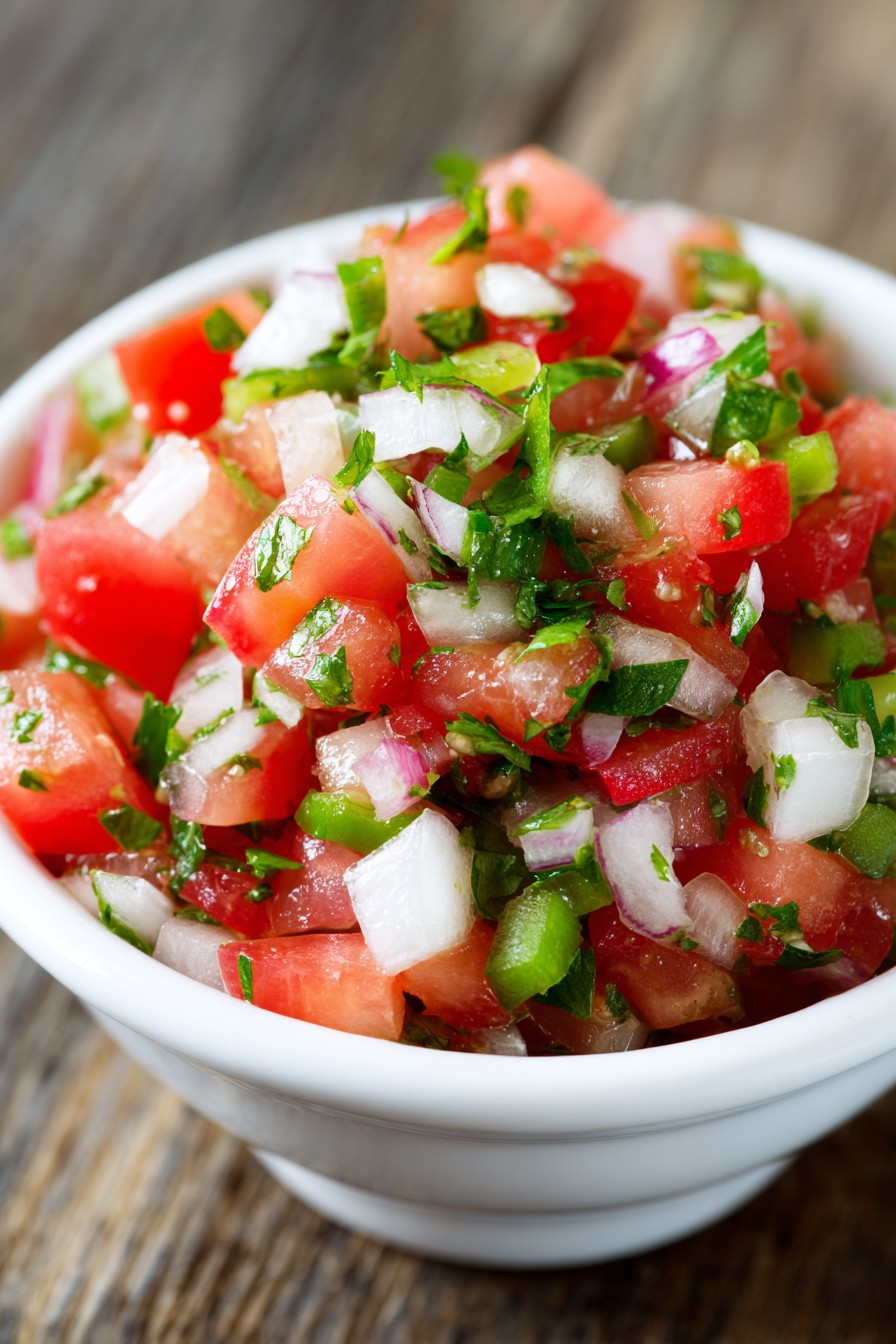
Pico de Gallo: Fresh and Flavorful Salsa Recipe
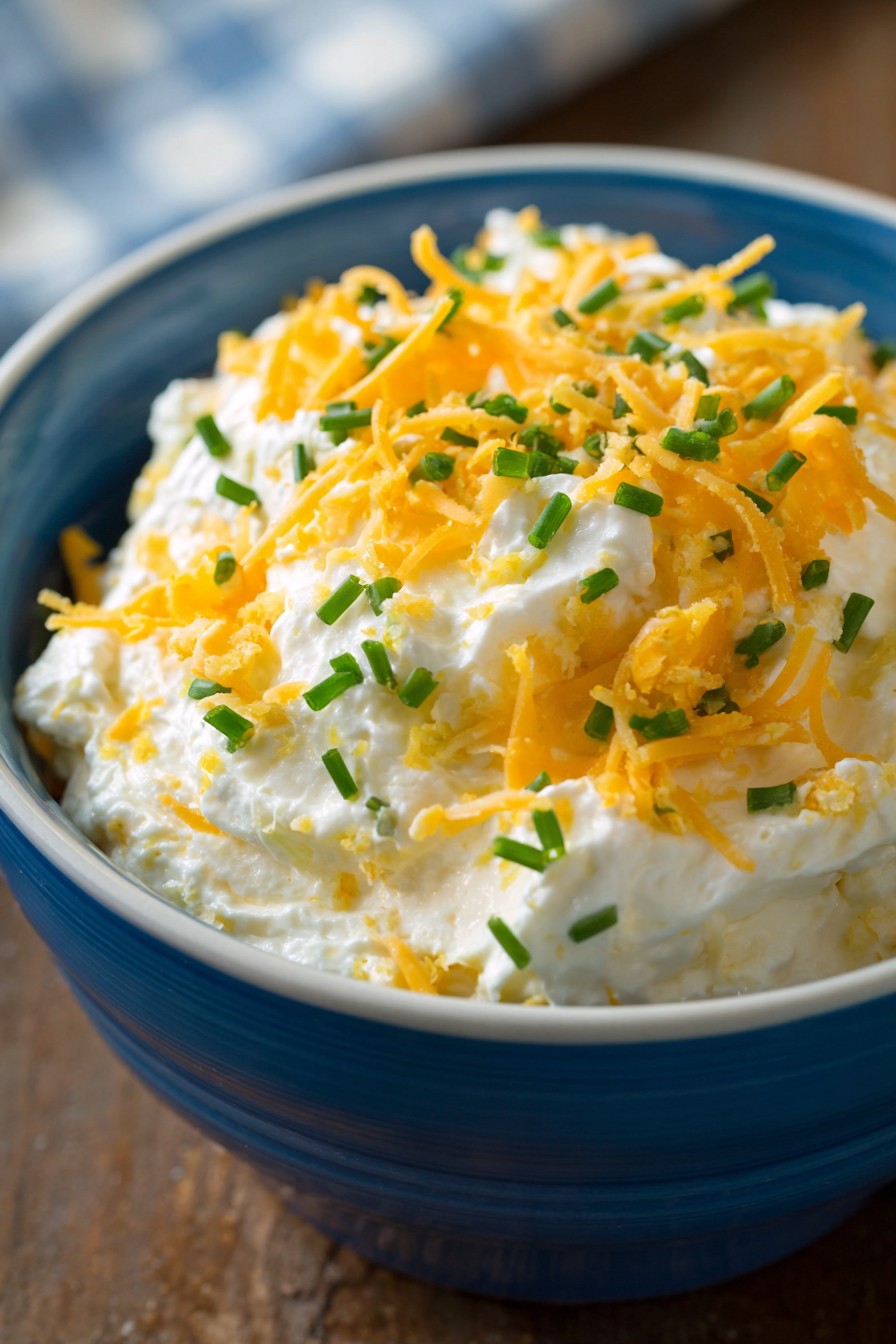
Cream Cheese Chip Dip Recipe: Dive Into Deliciousness!
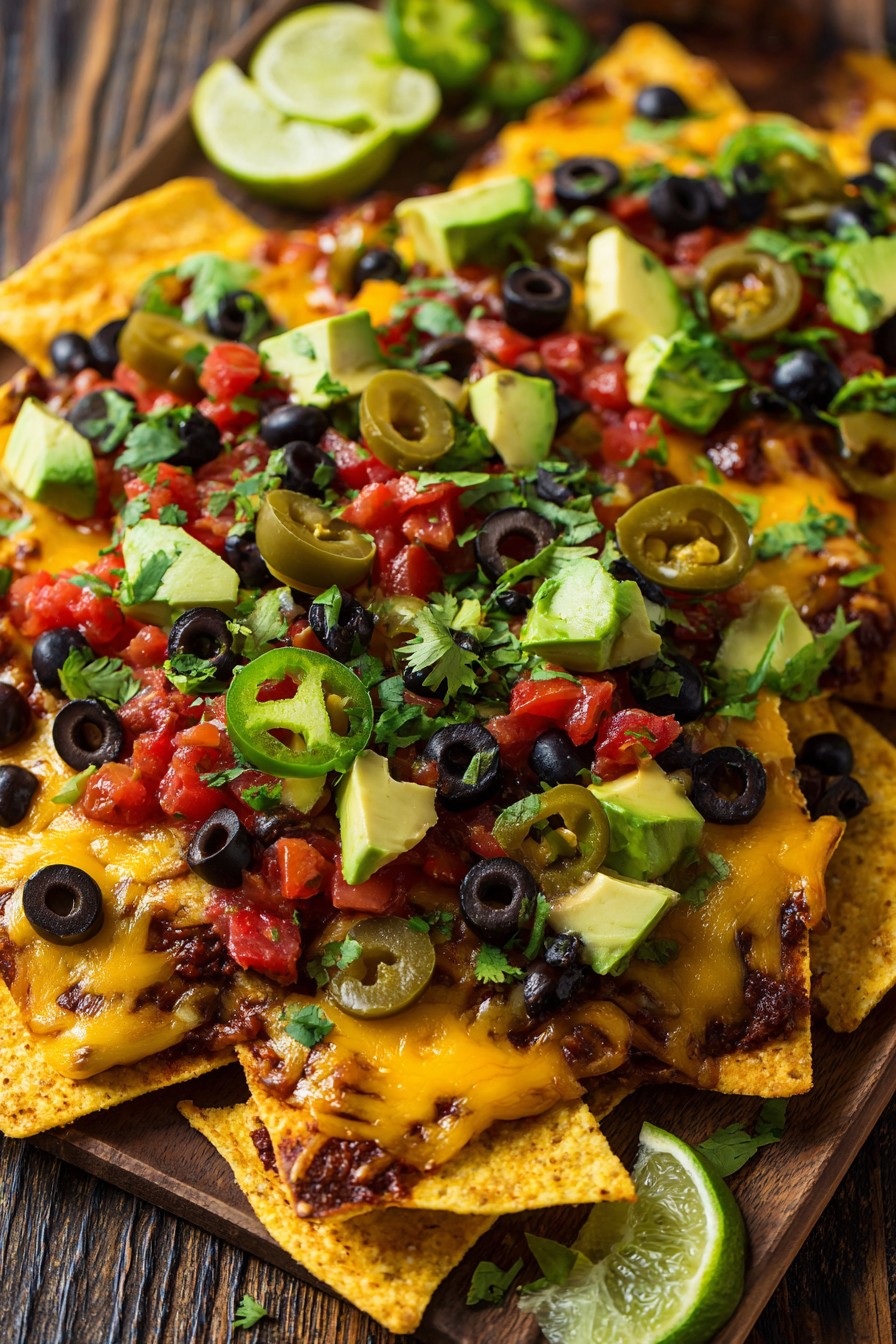
Air Fryer Nachos: A Flight of Global Flavors
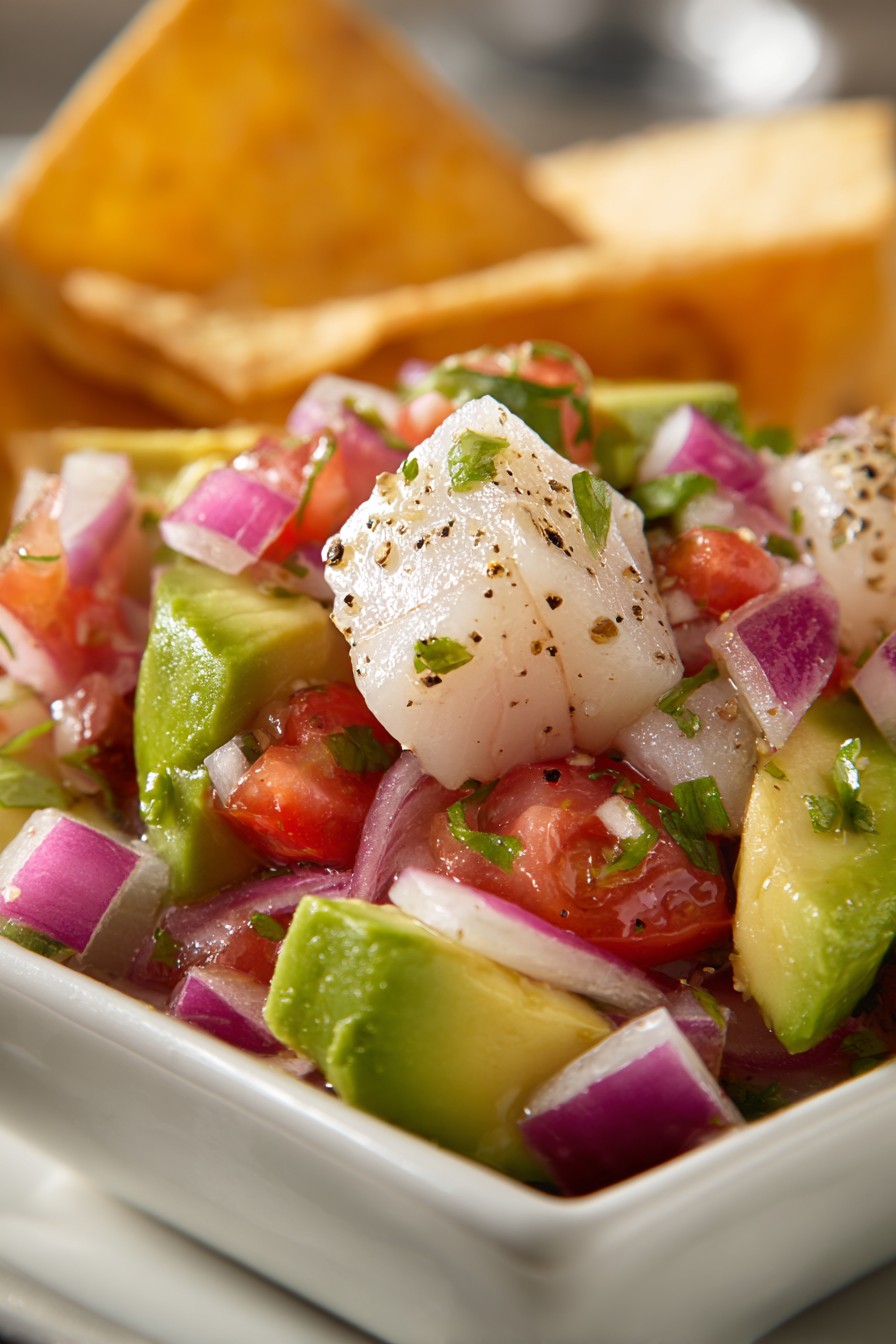
Vibrant Ceviche with Creamy Avocado: A Refreshing Blade of Flavor
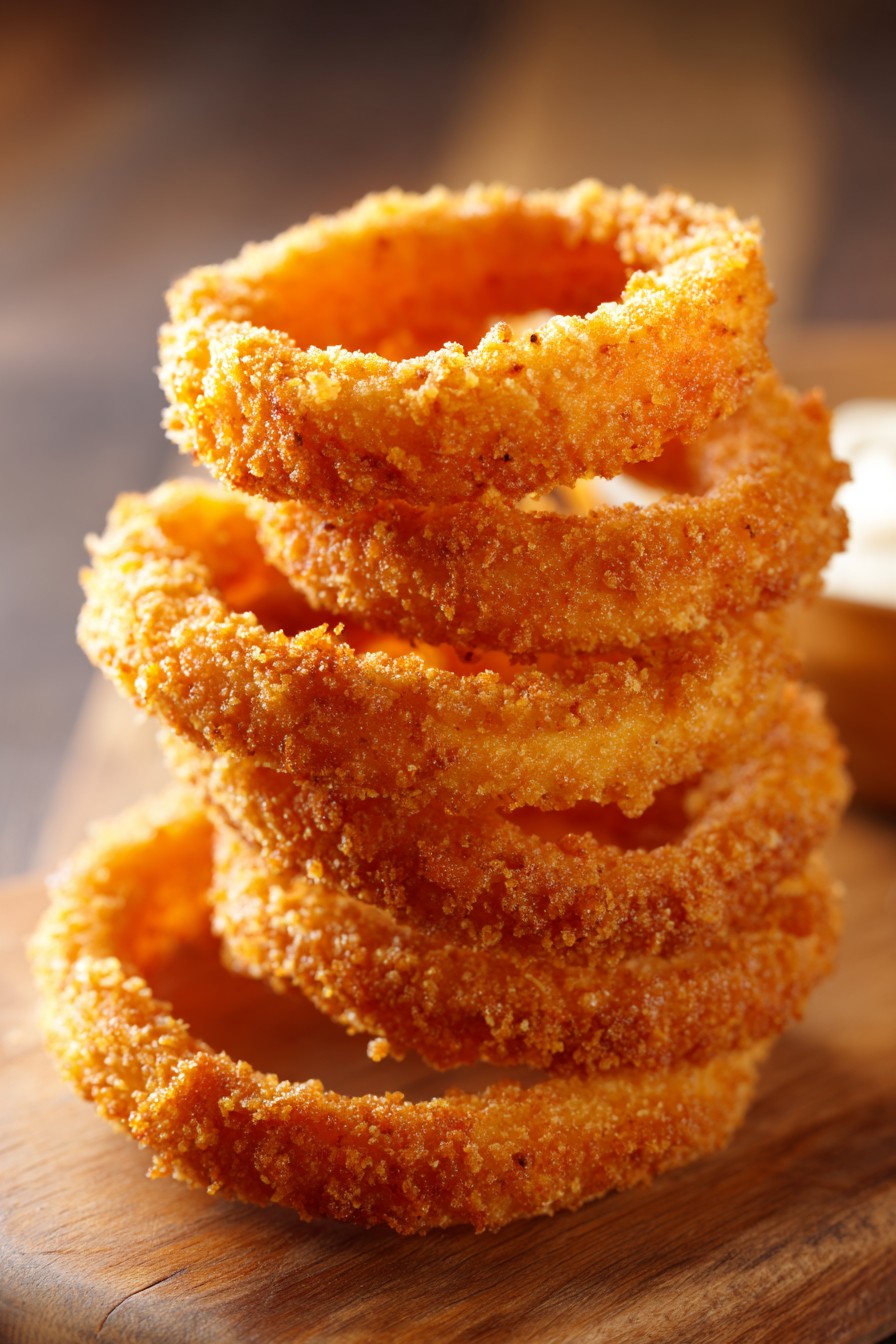
Crispy Onion Rings: A Simple Delight
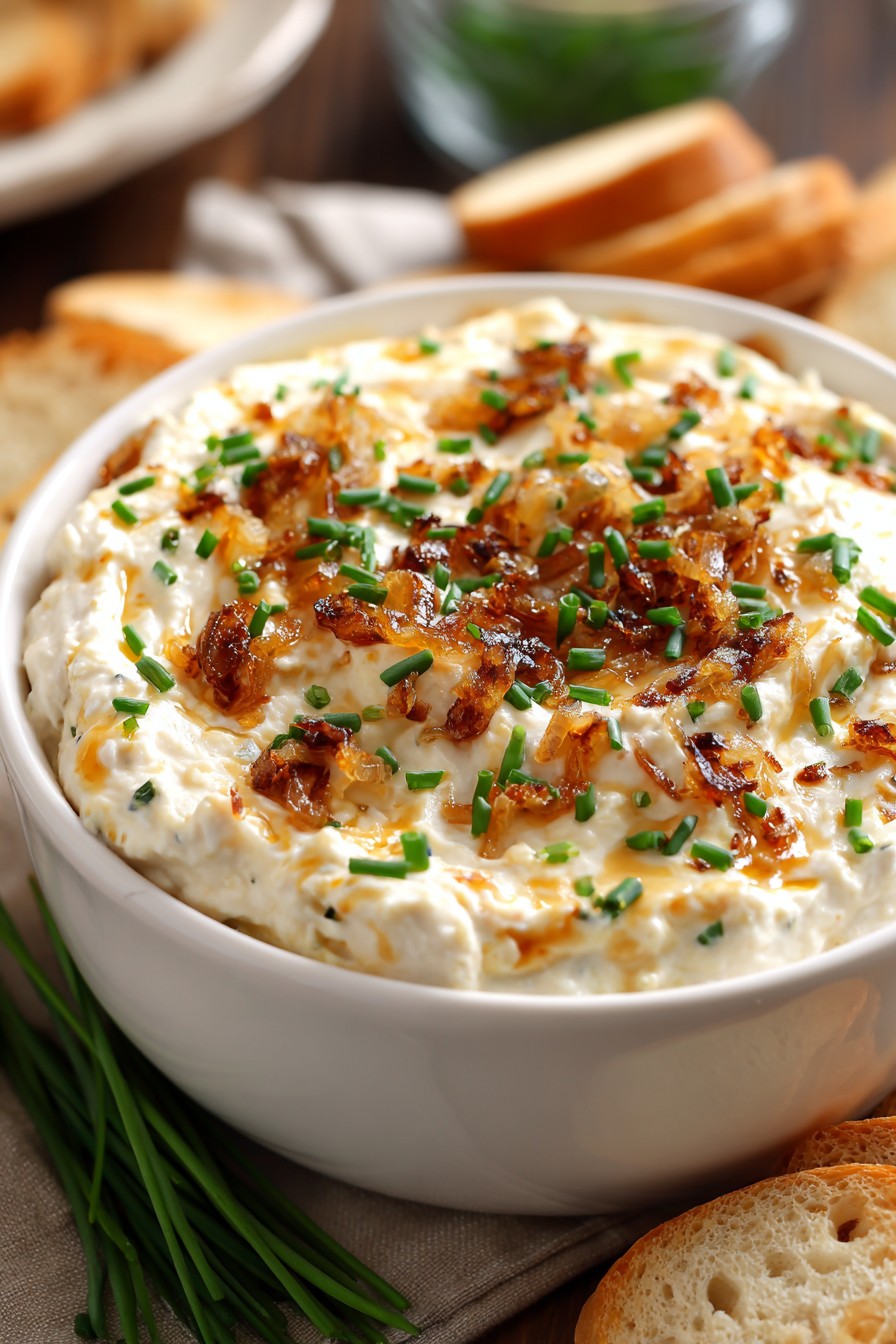
Caramelized Onion Dip: A Perfect Blend of Sweet and Savory
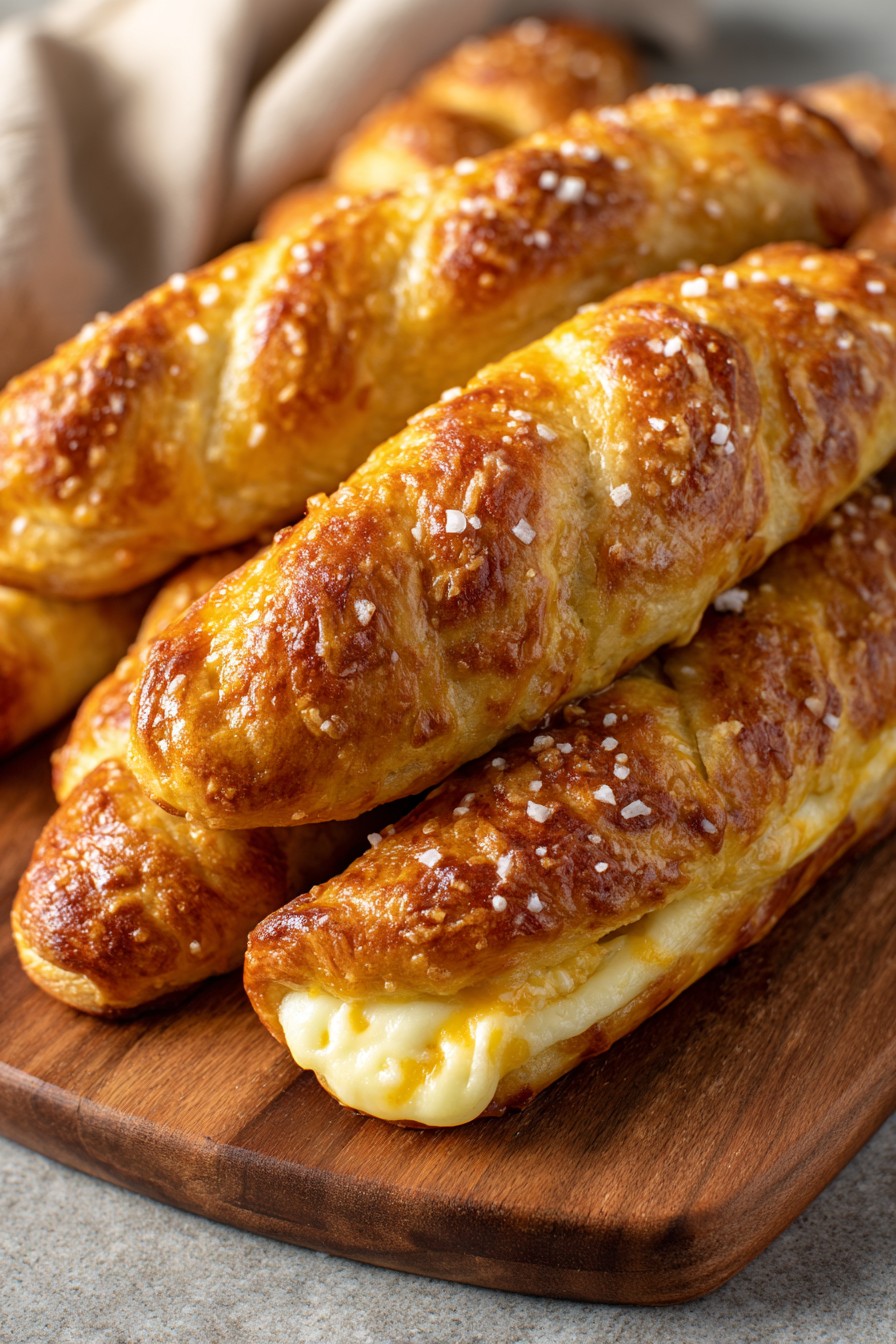
Cheese Stuffed Pretzels: A Gooey Delight!
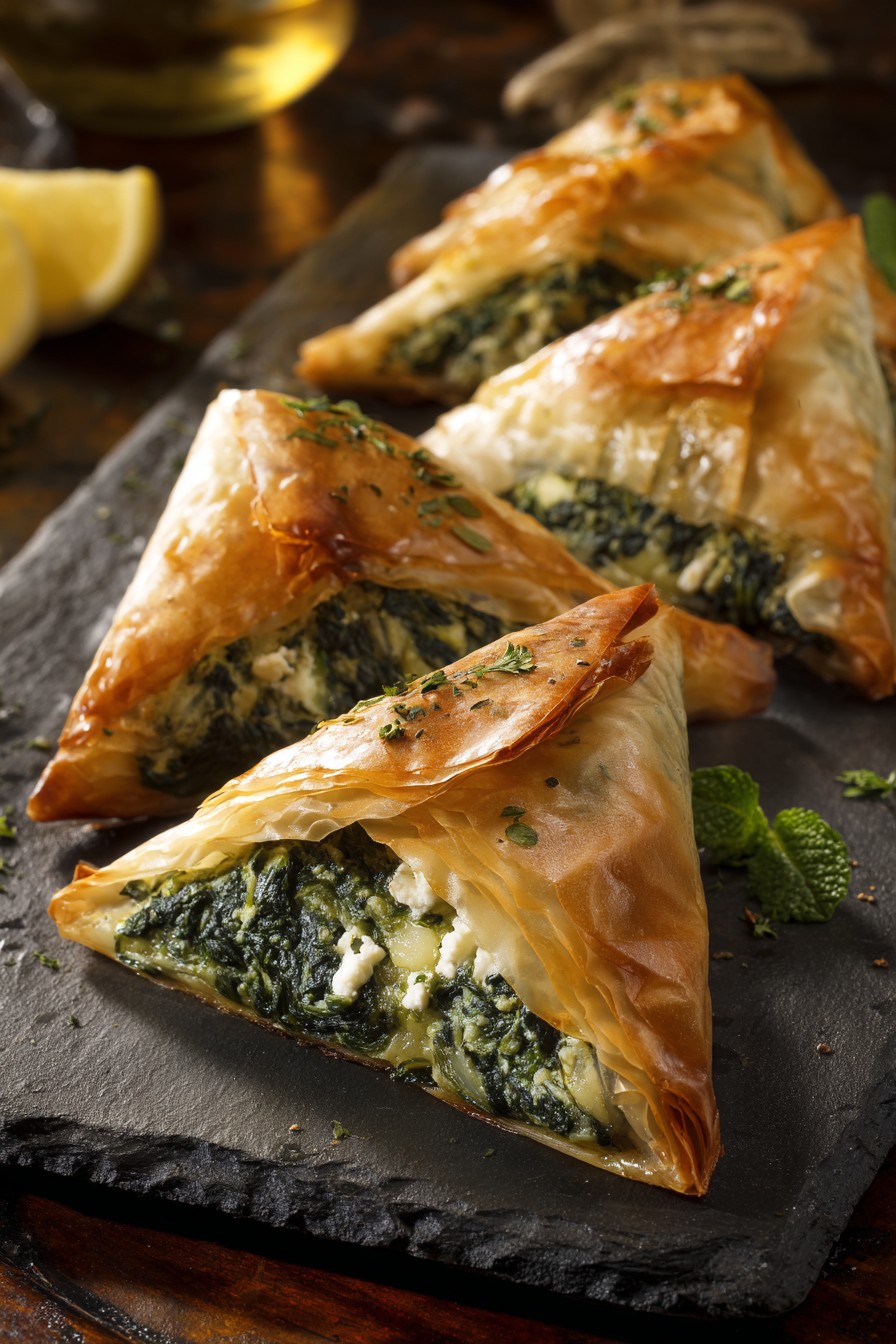
Spanakopita Triangles: Unleash the Flavors of the Mediterranean in Every Bite
Sashimi Scallops: A Delectable Ocean Symphony
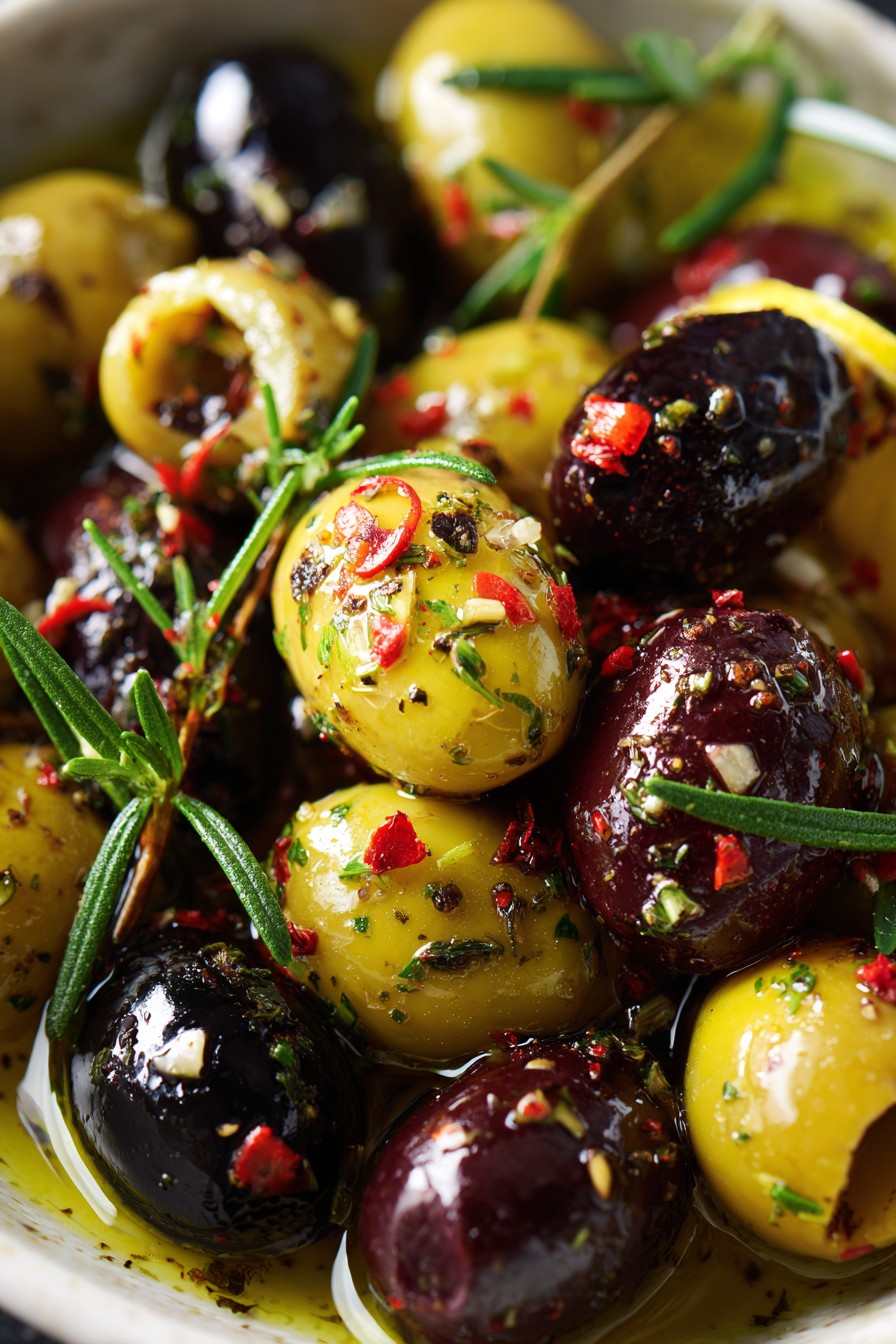
Marinated Olives: A Taste of Home and Tradition
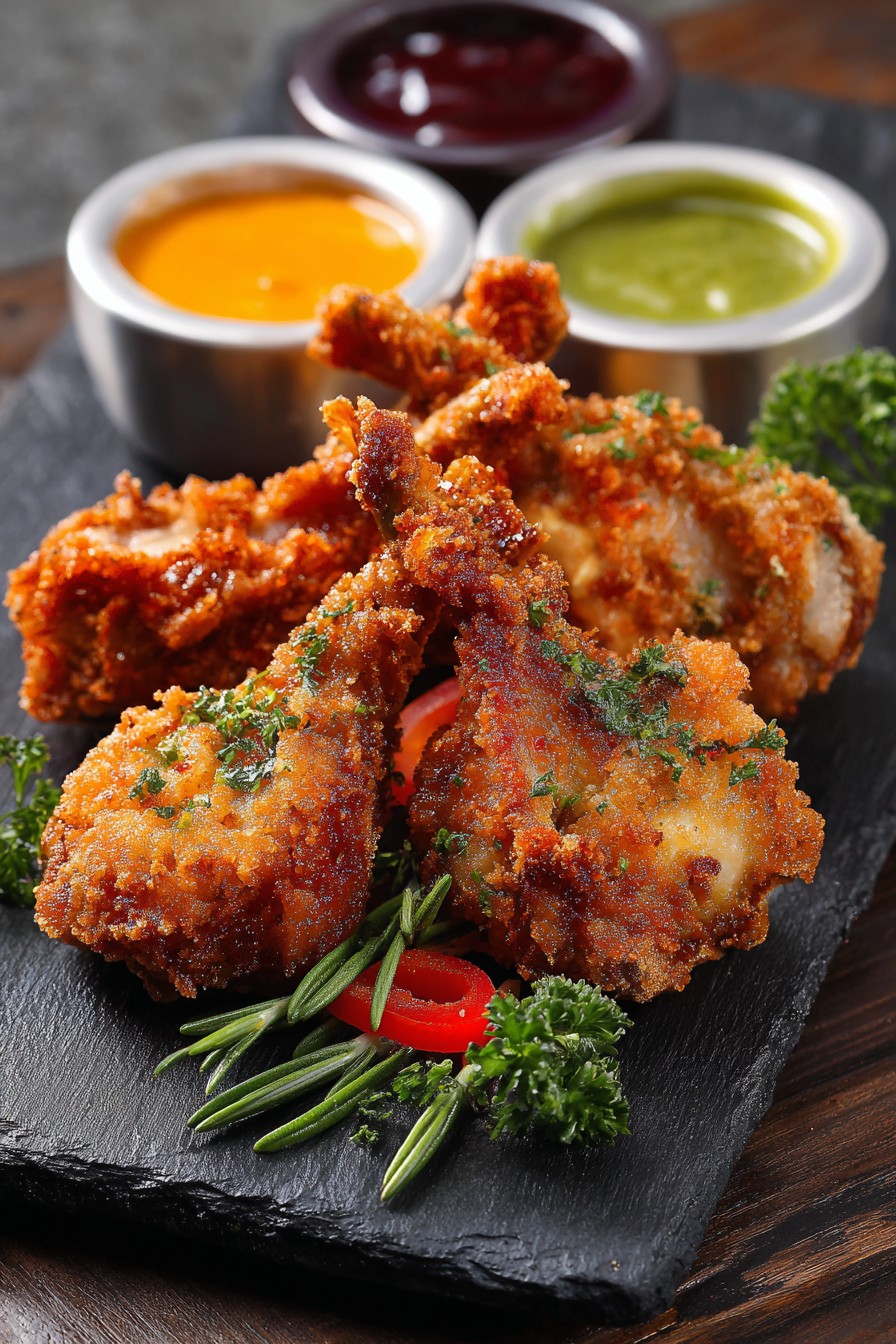
Finger-Lickin’ Chicken Lollipop Delight: Crispy, Juicy, Fun!
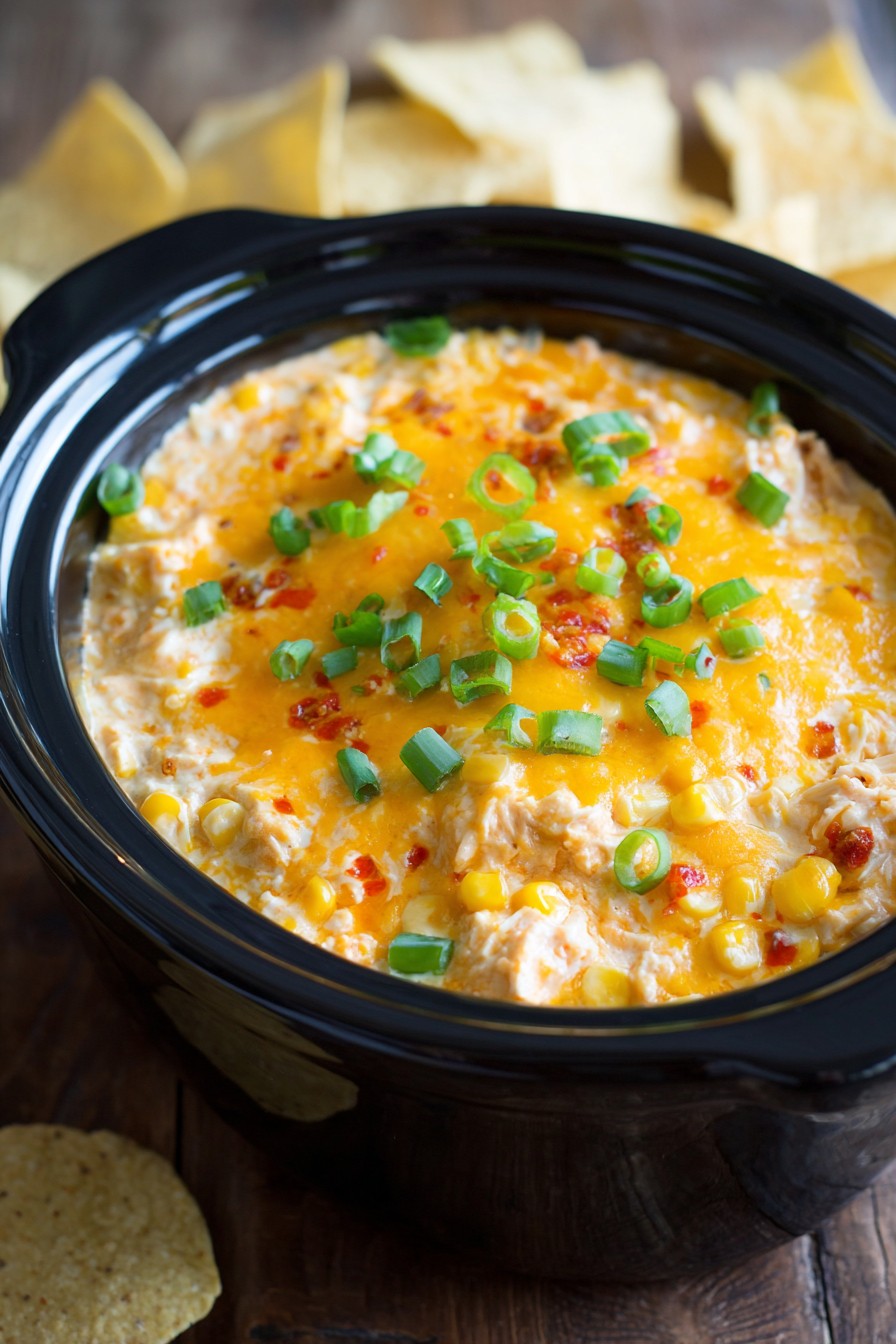
Crock Pot Corn Dip: Perfectly Creamy & Cheesy Feast!
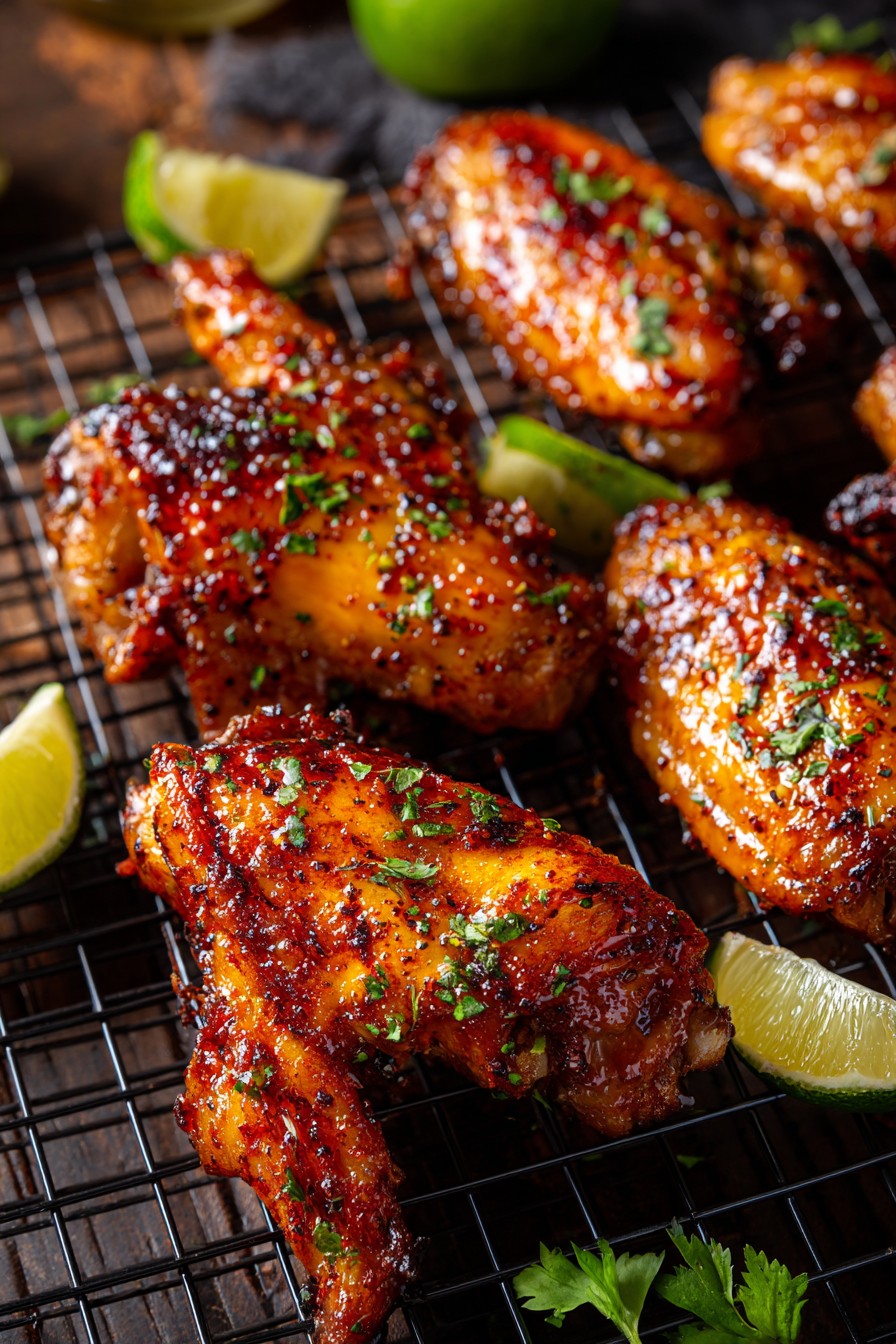
Thai Chili Wings Recipe: A Spicy Delight for the Bold
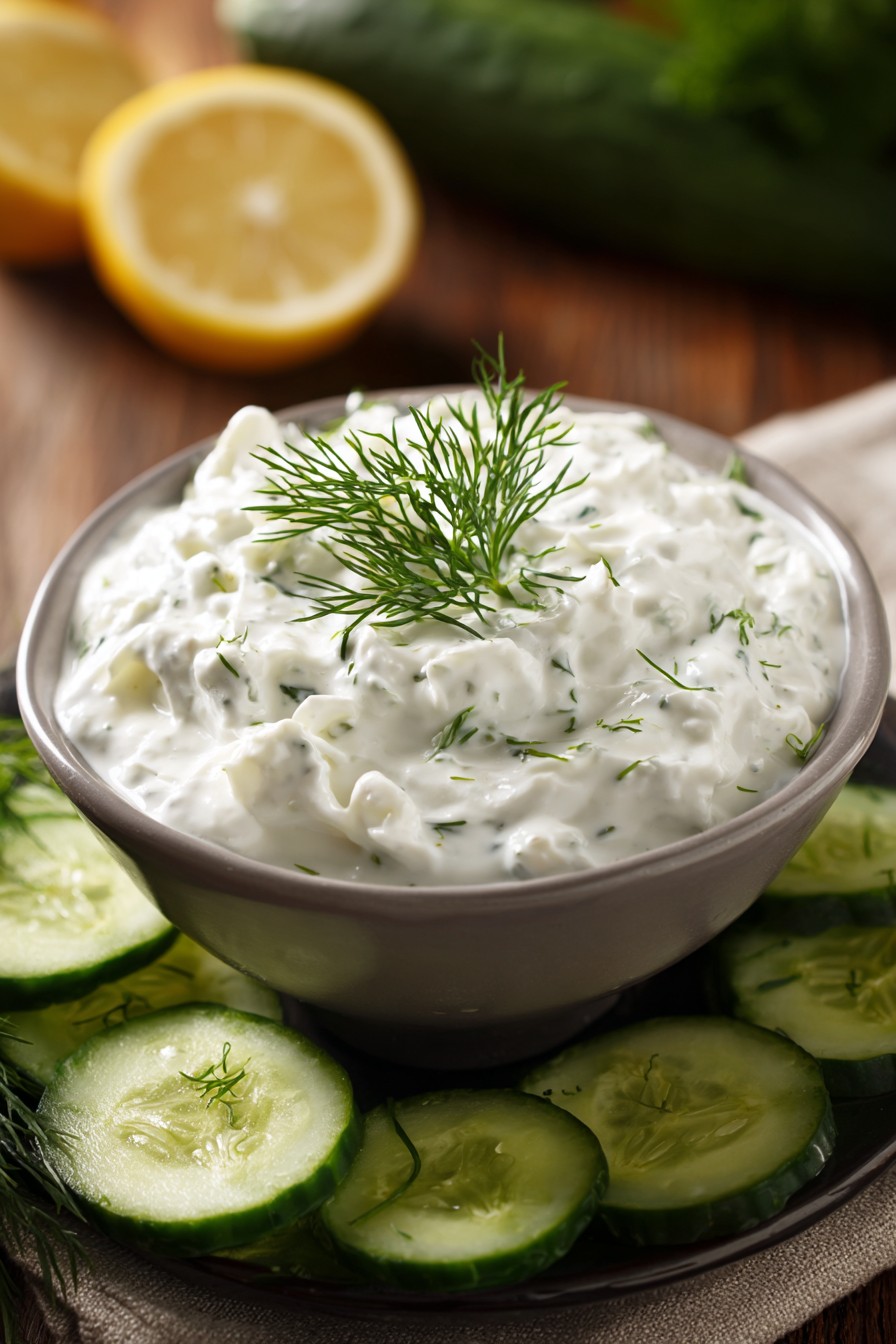
Cucumber Dill Dip Delight: A Cool Escape from Mundane Bites
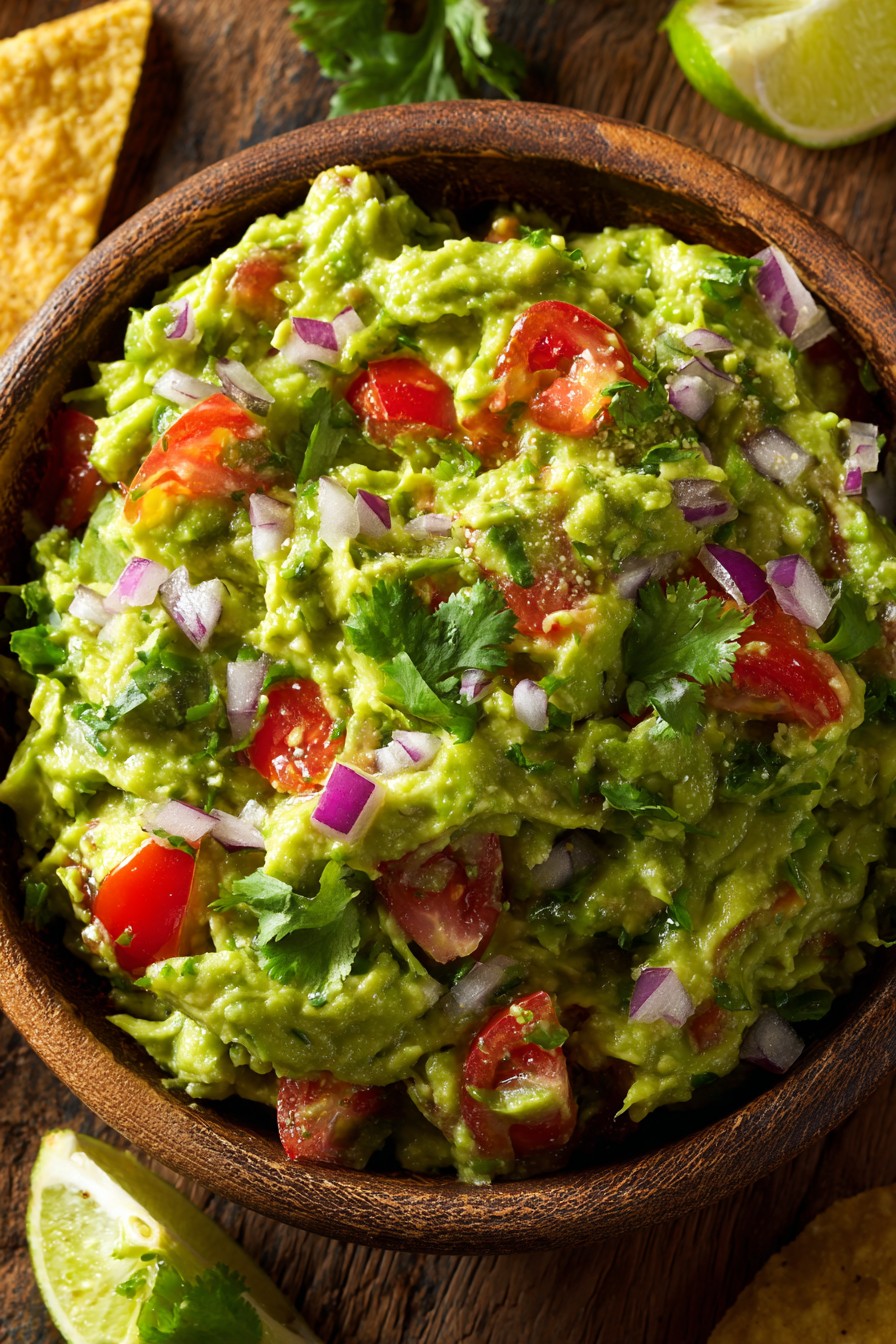
Simple Guacamole Dip Recipe: A Classic Delight
Appetizer Bliss: A Perfectly Crispy Fried Bacon Treat
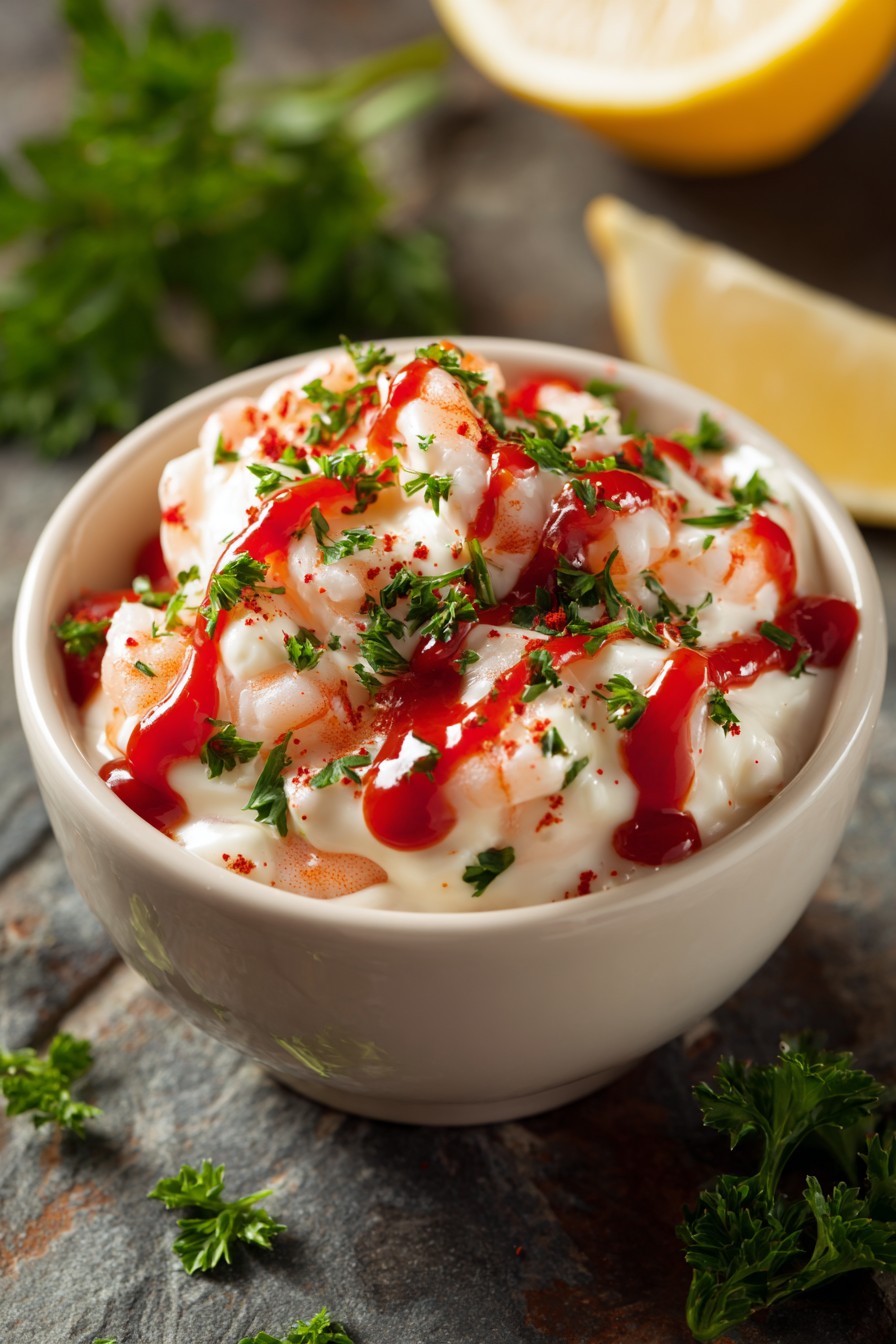
Zesty Shrimp Dipping Sauce Recipe: Ultimate Flavor Fest
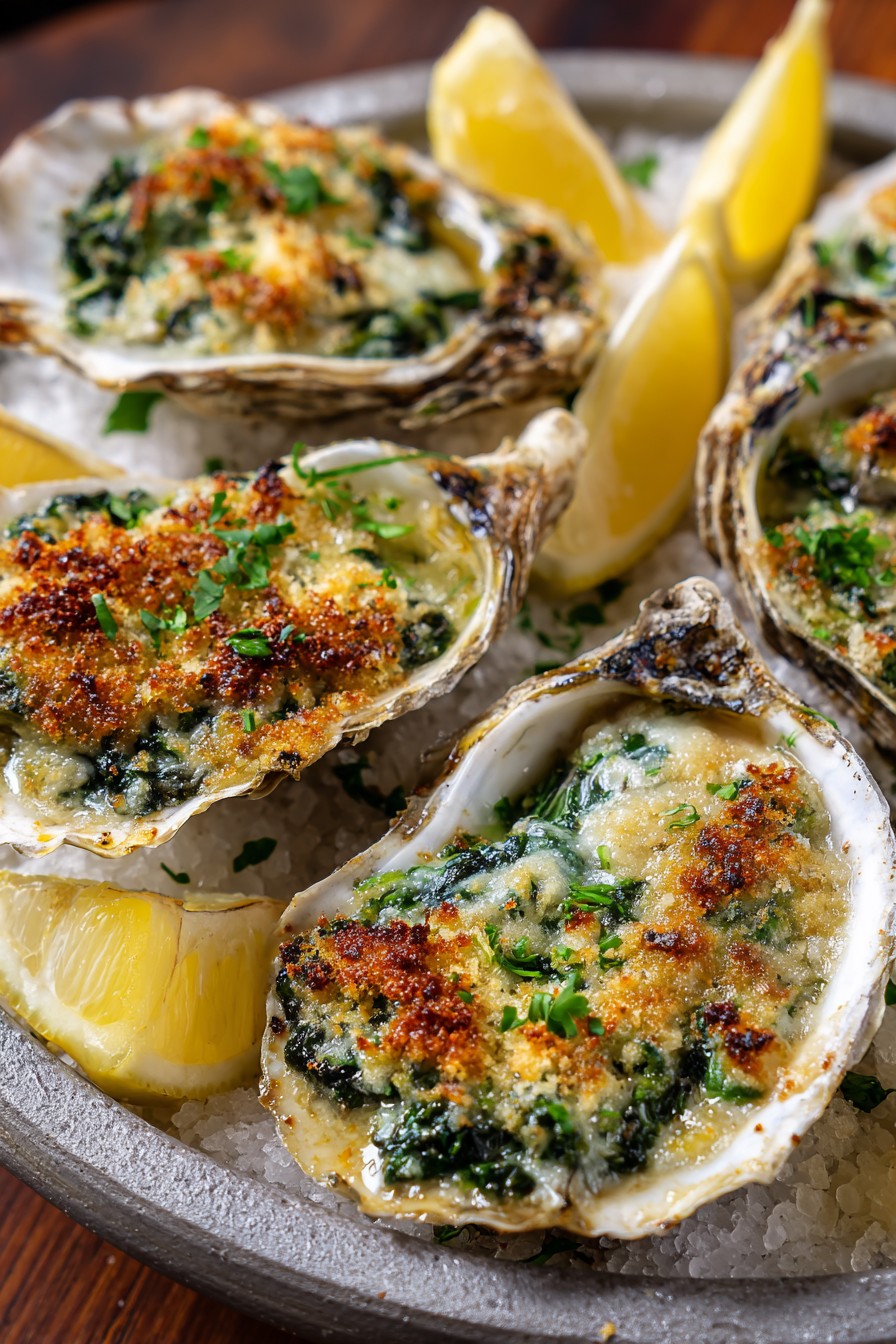
Oysters Rockefeller Recipe: Savory & Elegant
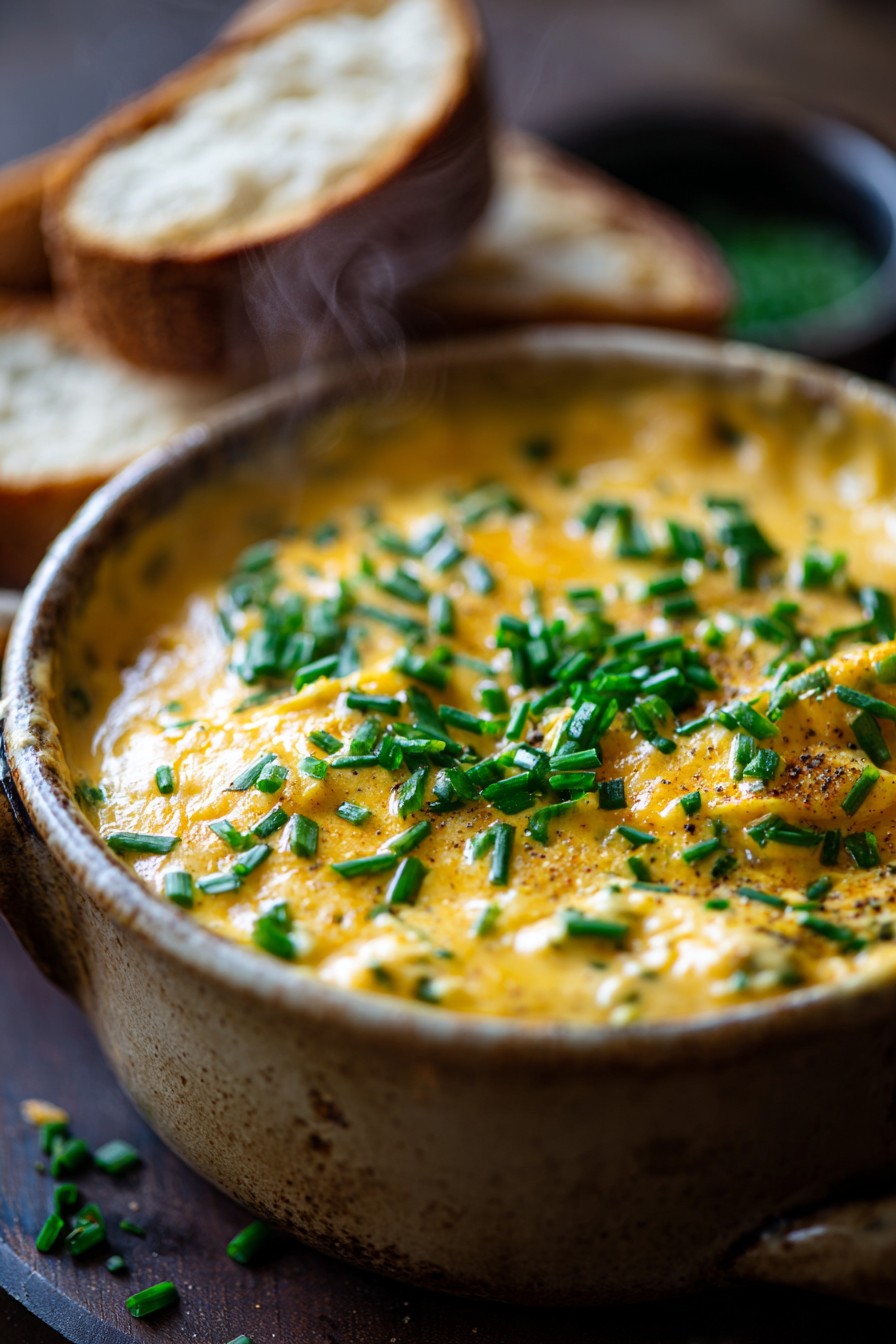
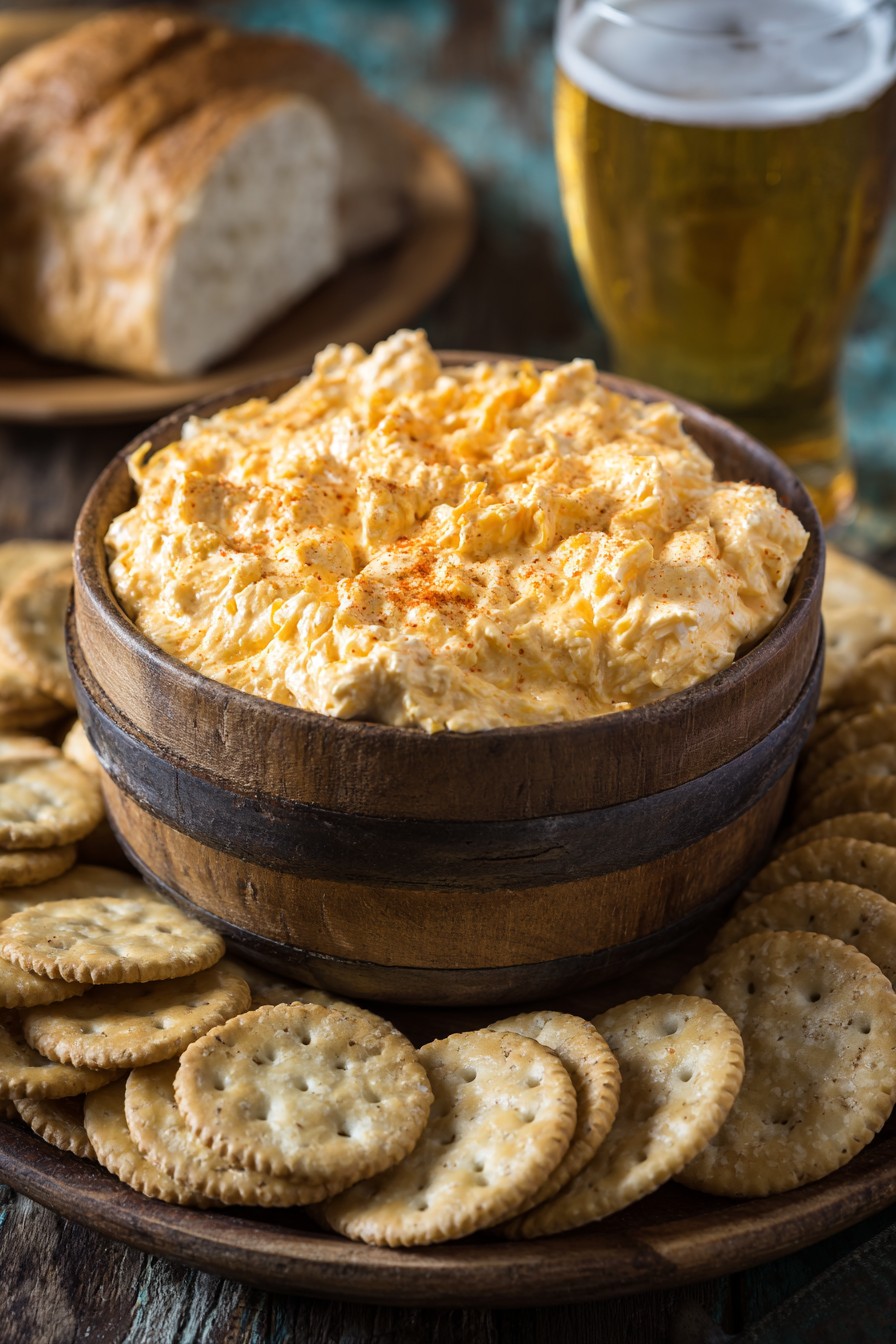
Fiery Beer Cheese Dip: A Flavor Explosion
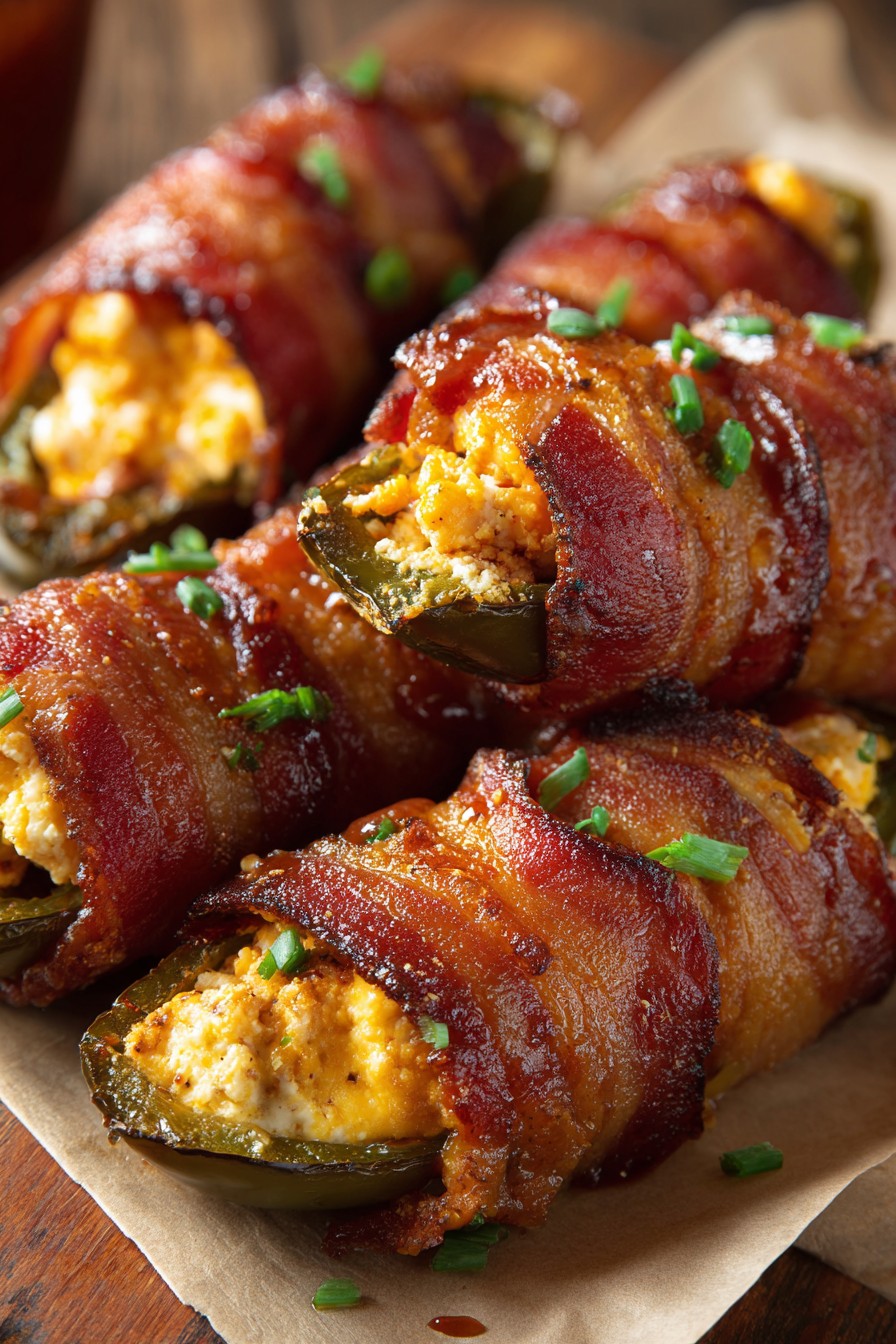
Texas Twinkies: A Spicy Bacon-Wrapped Delight
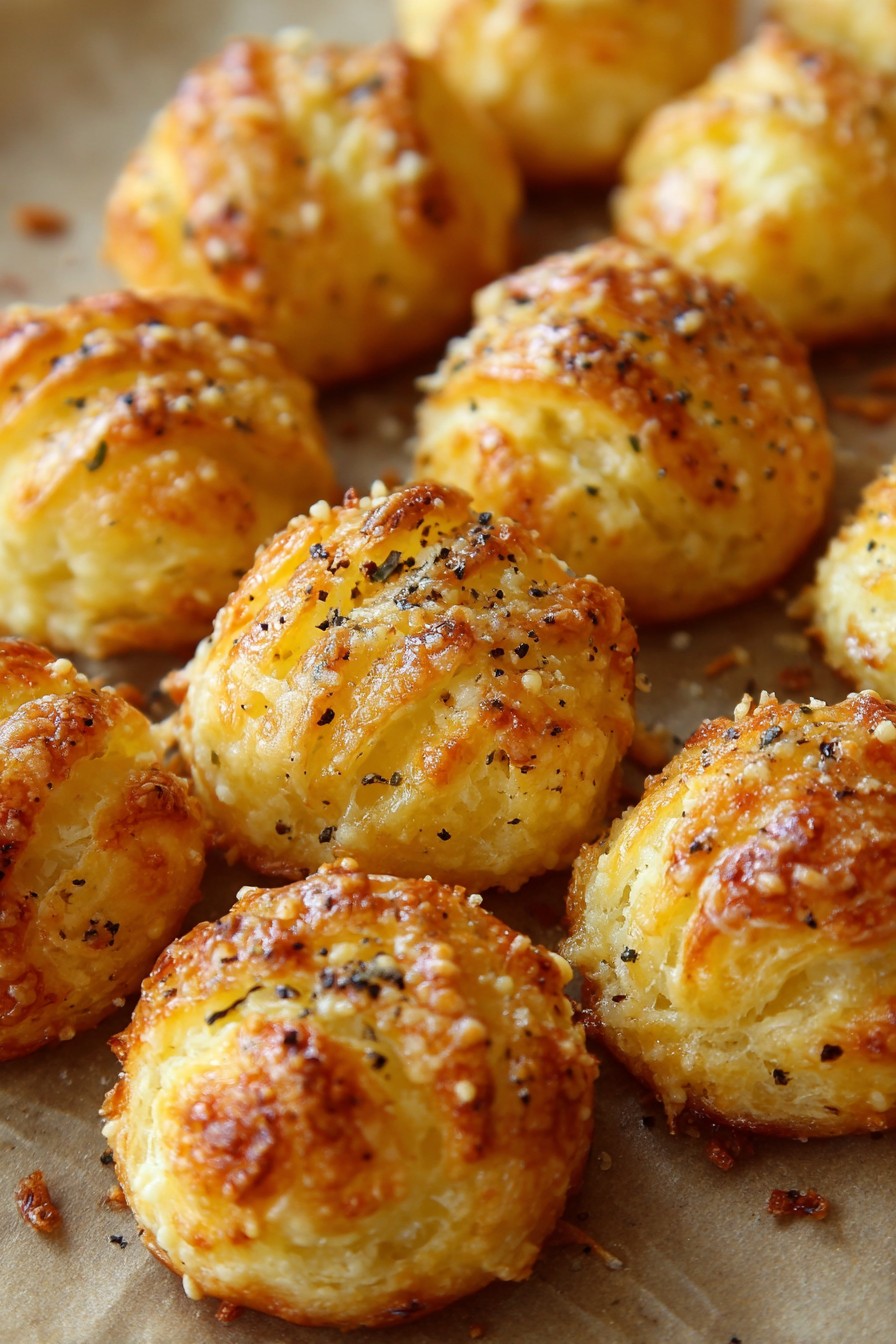
Irresistible French Cheese Puffs That Will Wow Your Tastebuds
Succulent Baked Chicken Wings: A Heartfelt Delight
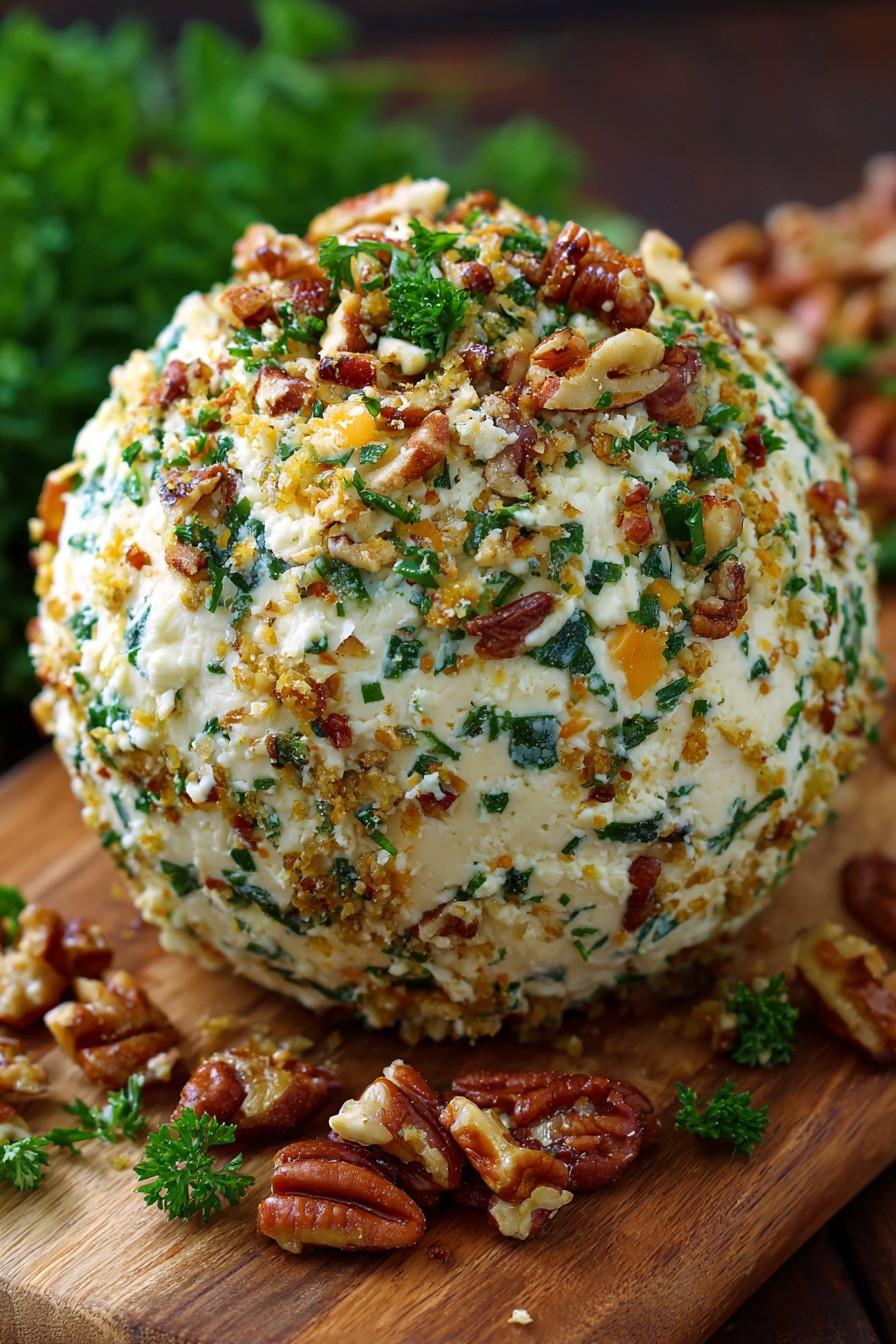
Ultimate Cheese Ball Extravaganza: A Flavorful Delight
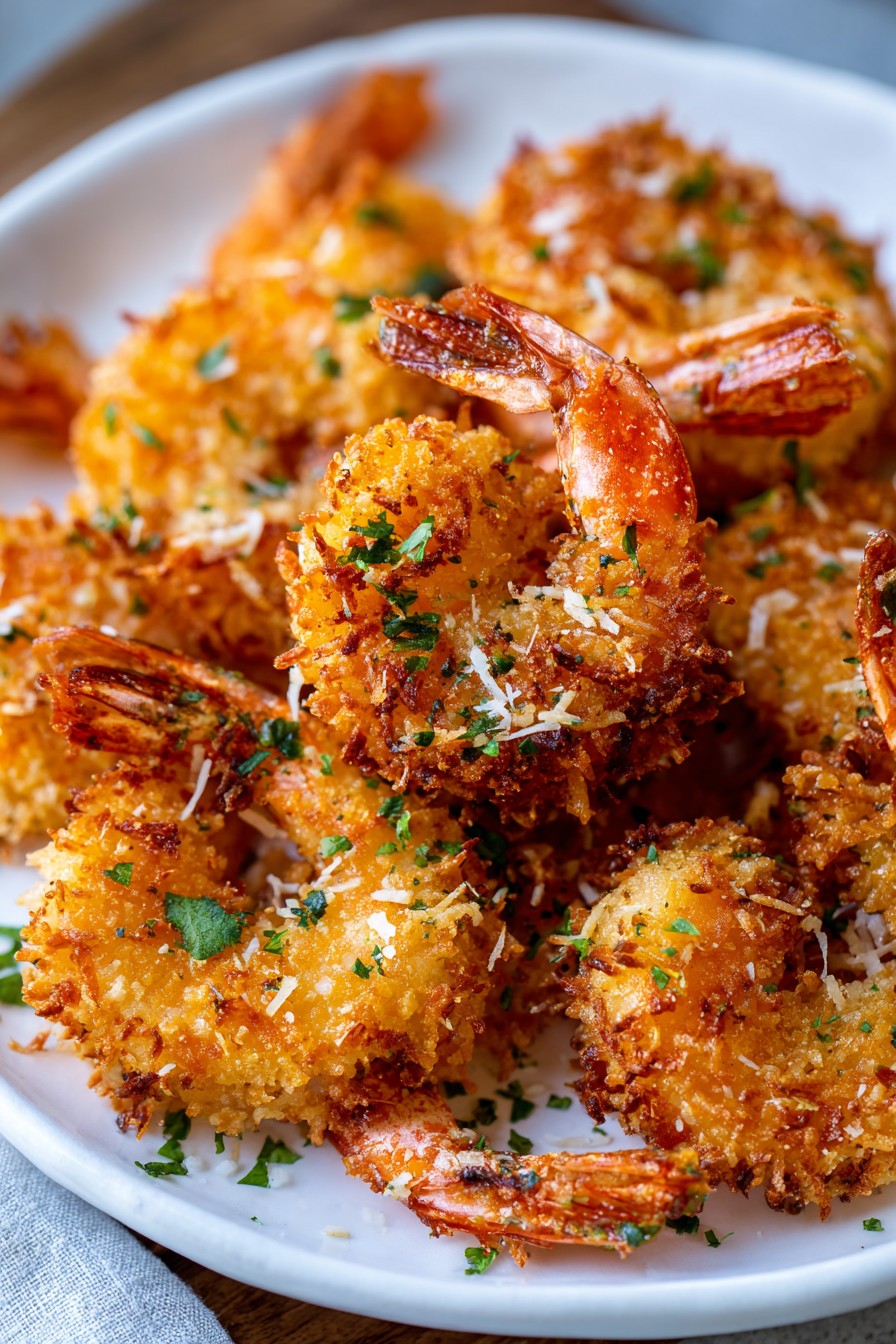
Crispy Baked Coconut Shrimp: A Deliciously Healthy Delight
Boudin Bliss: A Spicy and Savory Boudin Dip
Cold Beer Cheese Delight: Easy, Cheesy, Chilled
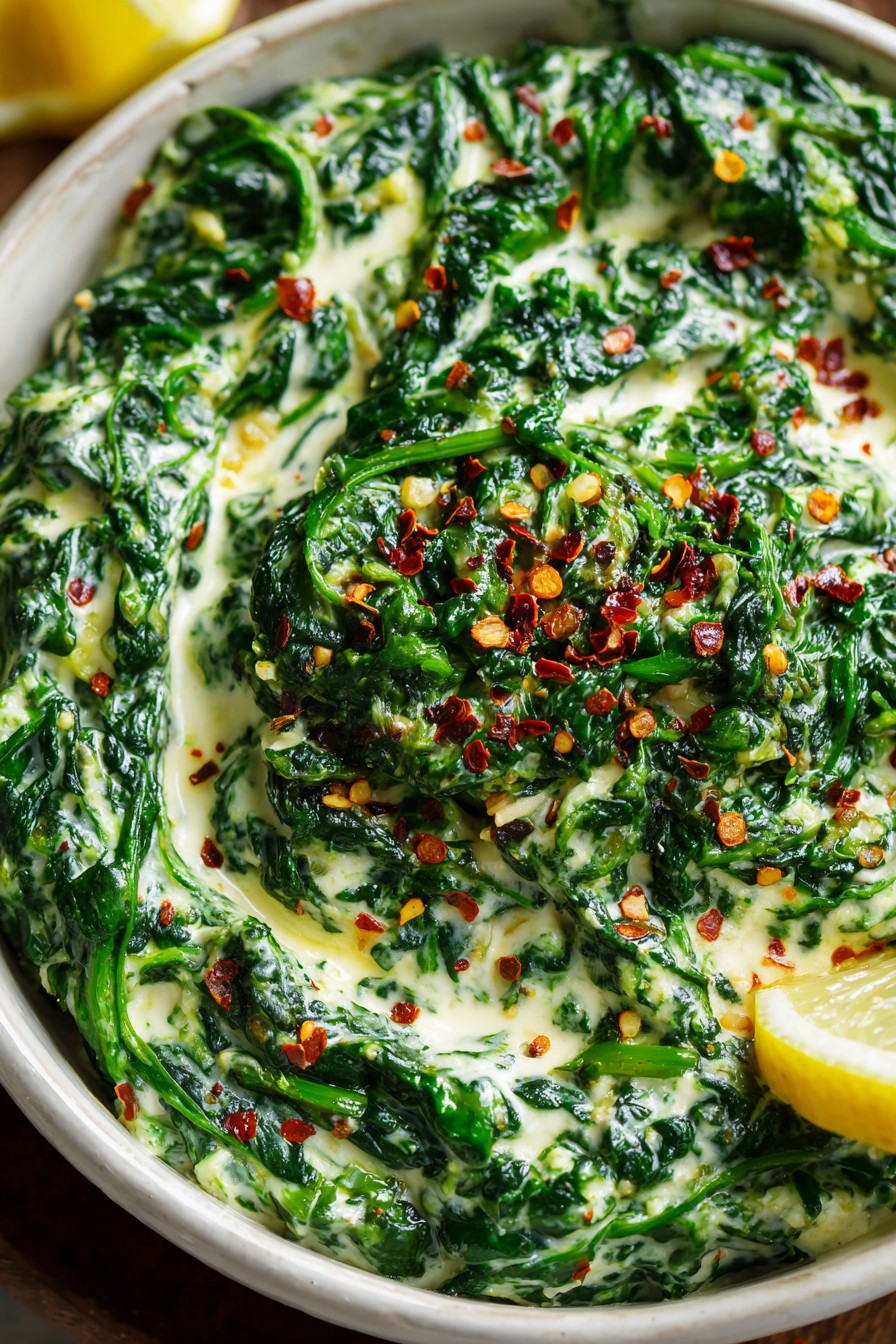
Yogurt Spinach Dip: A Creamy Delight with a Green Twist
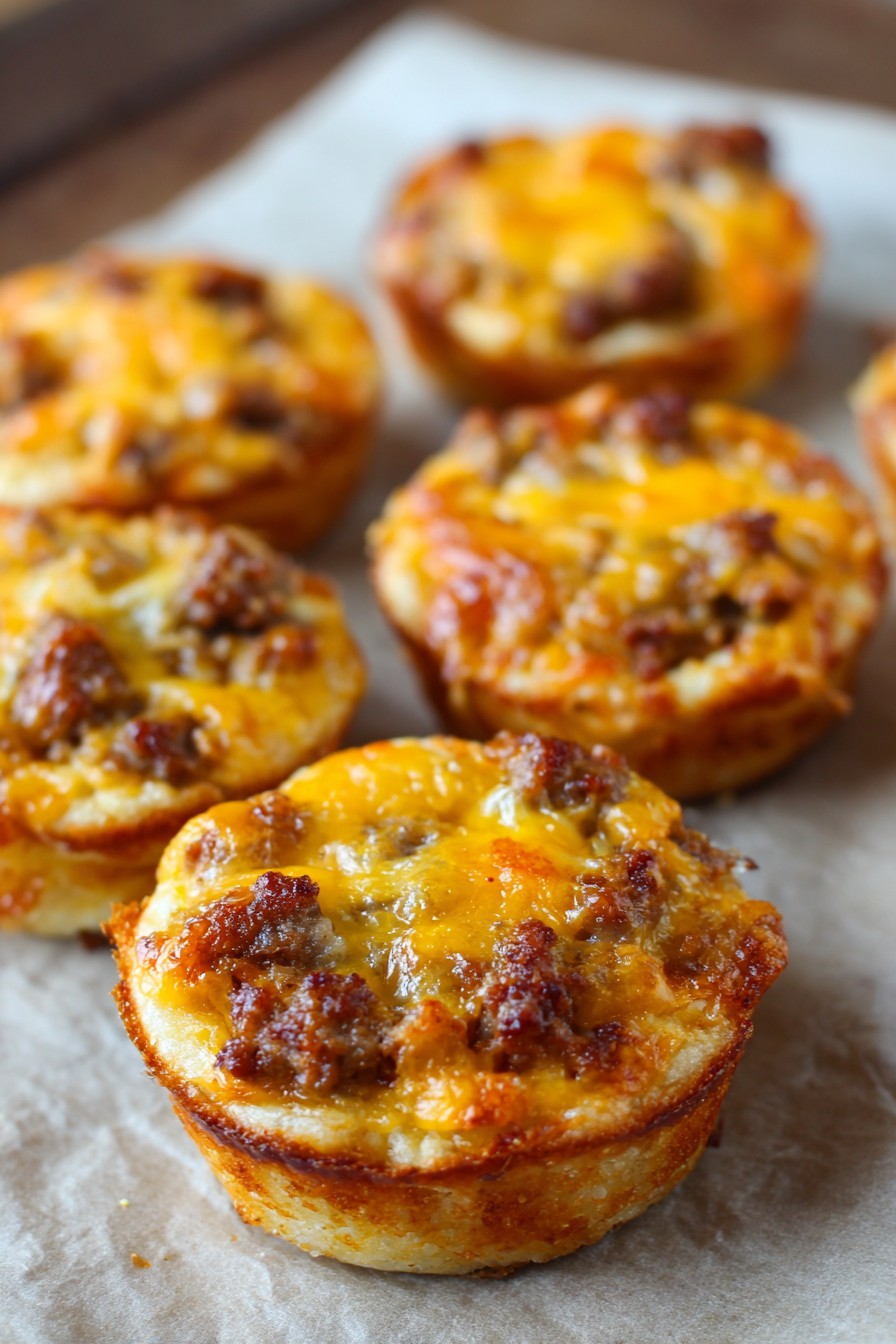
Sausage Cheese Balls: Quick and Tasty Family Favorite