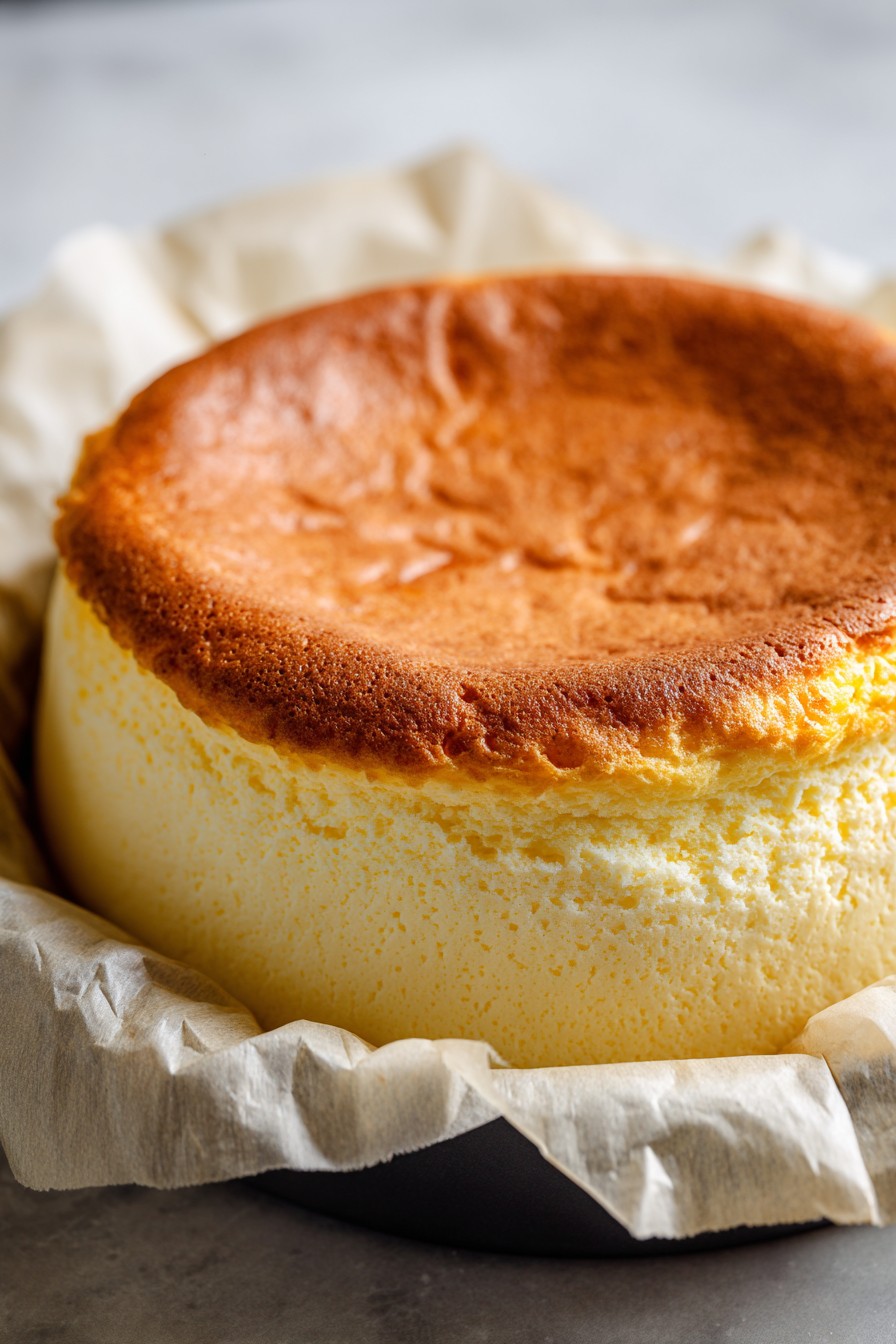
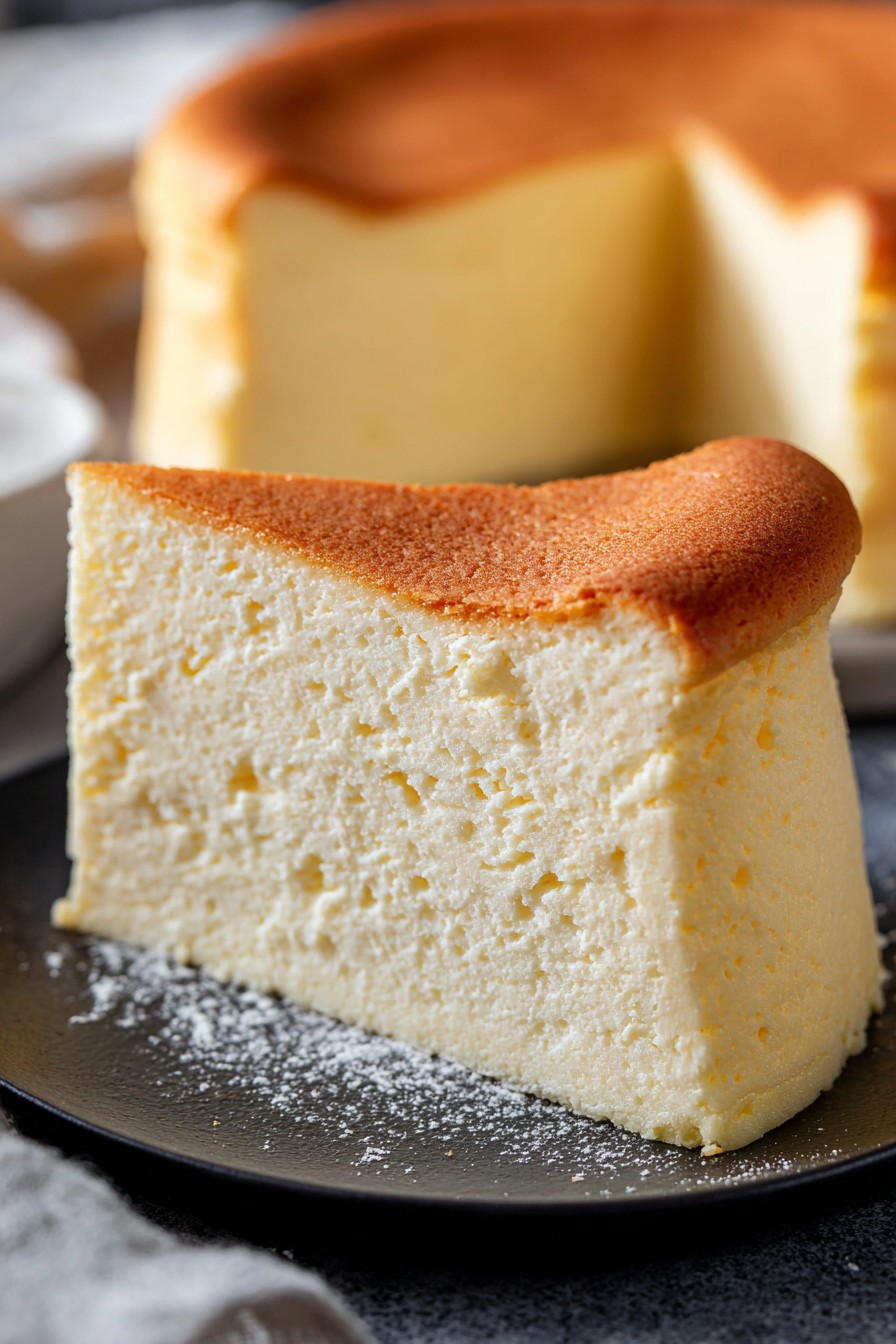
Home-cooked desserts have a unique ability to bring people together, filling the kitchen with warmth and love that only a cherished family recipe can provide. This Japanese cheesecake is no exception, with its unmistakably soft texture and flavor that charms anyone who takes a bite.
Why This Recipe Works
- Combines creaminess with fluffiness for a perfect mouthfeel.
- Simple ingredients make it an easy comfort food.
- Baking technique creates a dreamy, cloud-like texture.
Ingredients
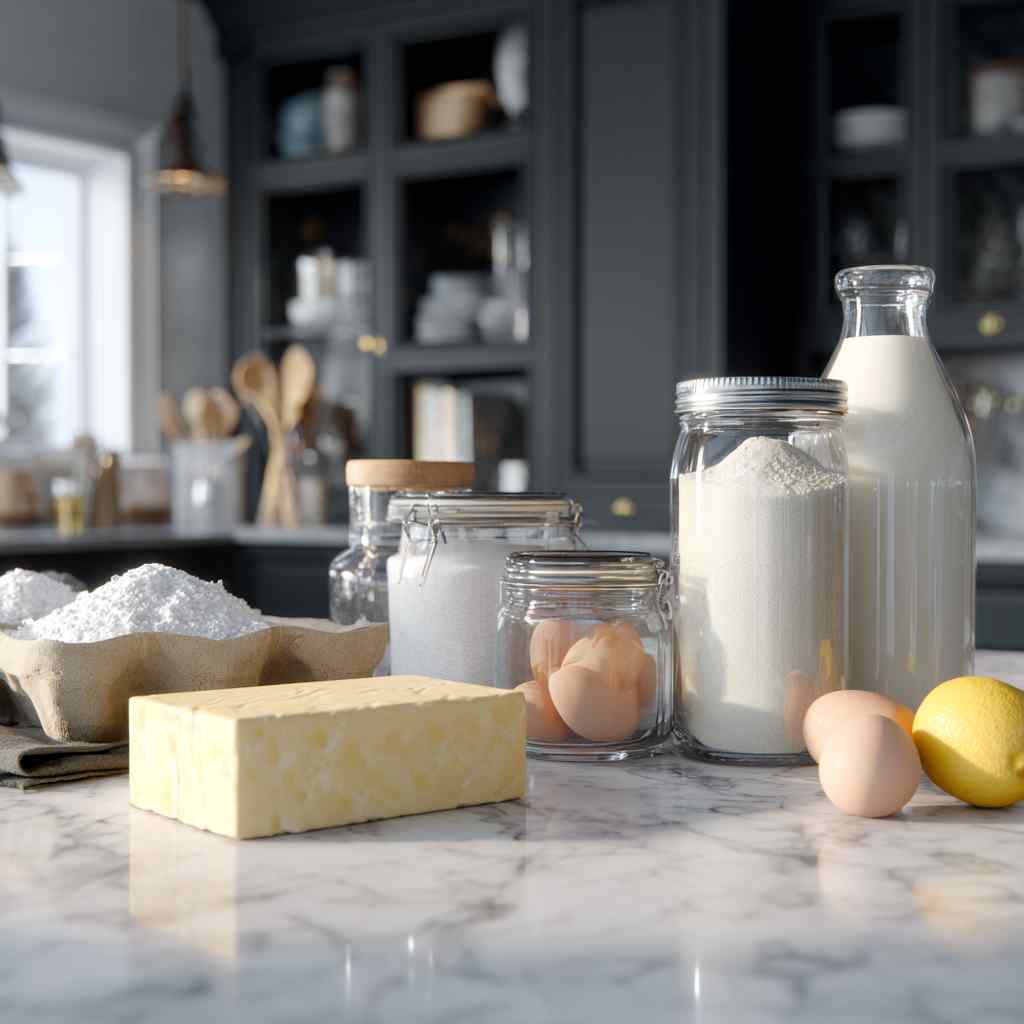
- 8 oz cream cheese, softened
- 4 tbsp unsalted butter
- 1/2 cup whole milk
- 5 large eggs, separated
- 2/3 cup granulated sugar
- 1/4 cup all-purpose flour
- 2 tbsp cornstarch
- 1 tbsp lemon juice
- 1/4 tsp salt
Equipment Needed
- 9-inch round cake pan
- Electric mixer
- Mixing bowls
- Sieve
- Whisk
- Baking sheet
- Parchment paper
Instructions
Prepare the Cream Cheese Mixture
Begin by preheating your oven to 320°F, ensuring it’s at just the right warmth to envelop your cheesecake with gentle heat. In a large mixing bowl, combine the softened cream cheese, unsalted butter, and whole milk. Use an electric mixer on medium speed to blend the mixture until smooth and creamy—like a magical elixir that ties the flavors together. This step is where the magic starts, setting the foundation for your cheesecake’s texture.
Sift and Combine Dry Ingredients
Next, fetch a medium-sized bowl and your trusty sieve. Sift together the flour, cornstarch, and salt; this simple act of patience ensures a lump-free batter lending to the delicacy and airiness of the cake. Slowly incorporate these dry ingredients into your creamy mixture using a gentle folding technique, being as tender as if you were handling a heirloom quilt. Be sure to mix just until the ingredients are lovingly combined.
Whisk the Egg Whites
Take five large eggs and separate them, placing the whites in a clean, dry mixing bowl. The yolks can rest for now. Whisk the egg whites using an electric mixer, gradually adding the granulated sugar until soft peaks form. This froth of frothy egg whites is akin to the snowy peaks of old holiday memories. Be patient, as reaching the right consistency is essential for the lightness of your cheesecake. Moreover, ensure there are no traces of yolk in the whites—this is crucial!
Combine and Fold
Now, introduce the eagerly waiting egg yolks and the lemon juice into your cream cheese mixture, stirring gently to consolidate their flavors subtly. Gradually fold in the whipped egg whites; this requires a delicate hand, keeping all the airiness intact. Be patient and enthusiastic as you fold, much like nurturing a budding friendship. It’s the details that transform good custard into an exceptional cheesecake. Overmixing will cause deflation; be gentle as a soft rain on an autumn morning.
Prepare for Baking
Line the bottom of your 9-inch round cake pan with parchment paper, ensuring a seamless transition for your cheesecake to rise. Place the filled cake pan on a baking sheet, ready for its rendezvous with the warmth of the oven. A water bath is suggested for even baking, so create one by adding warm water to the baking sheet, up halfway. This step keeps the cake cooking evenly—much like surroundings of a hot spring cocoon, perfecting it with a moist embrace.
Bake to Perfection
Guide your cheesecake into the oven and bake it at 320°F for about 70 minutes, until the top is a suntanned golden brown and slightly jiggly—think of a gentle morning breeze. Resist opening the oven too soon, as sudden temperature changes can lead to cracking. Patience here is rewarded with a cheesecake that is evenly puffed and angelic. After baking, turn off the oven, leaving the cake inside for an additional 20 minutes.
Tips and Tricks
Room temperature ingredients blend better, ensuring smoothness. A gentle touch is key when folding in the egg whites to maintain fluff. To cool the cheesecake slowly, leave it in the cracked oven after baking—this minimizes cracks and keeps it smooth.
Recipe Variations
- Add a vanilla bean for a rich, aromatic twist.
- Try orange zest instead of lemon juice for a citrusy zing.
- Incorporate matcha powder for a green tea version.
Frequently Asked Questions
Q: Can I use low-fat ingredients?
A: While it’s possible, full-fat versions provide the best texture and flavor. The creaminess is a hallmark of Japanese cheesecake, and low-fat options may not yield the same mouthfeel.
Q: Should my cake be jiggly?
A: Yes, the center should be slightly wobbly right out of the oven. Upon cooling, it naturally firms up to that wonderfully custardy texture balanced with airiness.
Q: How do I know when my cheesecake is ready?
A: Look for a golden-browned top with that perfect, gentle wobble in the center. Much like testing jelly, this slight jiggle is a promising sign of success.
Summary
This Japanese cheesecake’s magical blend of softness and creaminess brings people together over shared plates and cherished moments, just like the warmth and nostalgia of family gatherings.
Classic Japanese Cheesecake
8
servings20
minutes70
minutesIngredients
Instructions
- 1 Preheat oven to 320°F. Mix cream cheese, butter, and milk until smooth.
- 2 Sift flour, cornstarch, and salt. Fold into the cream cheese mixture carefully.
- 3 Whip egg whites to soft peaks, adding sugar gradually.
- 4 Combine yolks and lemon juice with the cream cheese mixture, folding in whipped egg whites.
- 5 Line a pan with parchment. Place in a water bath, bake for 70 minutes until golden and jiggly.