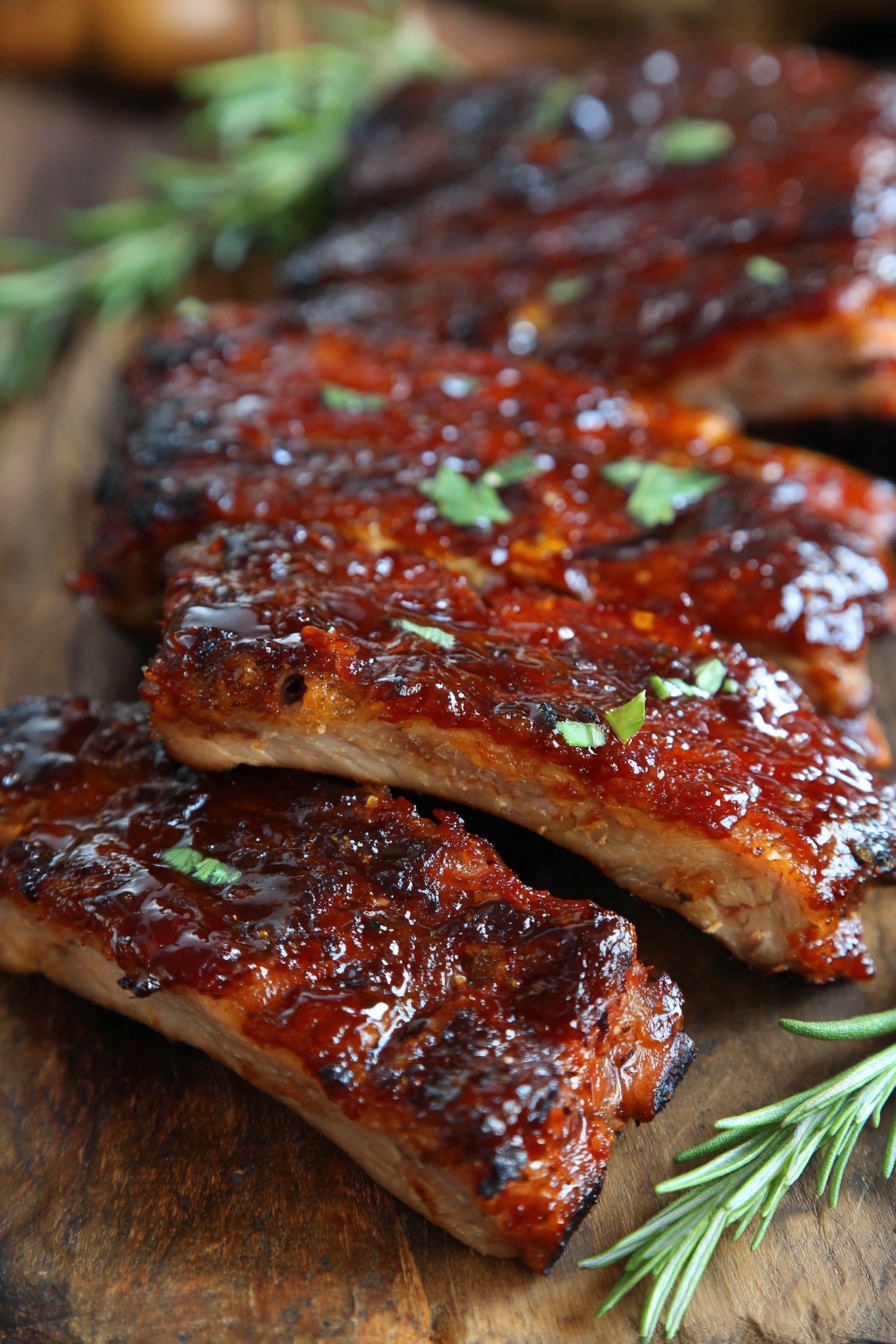
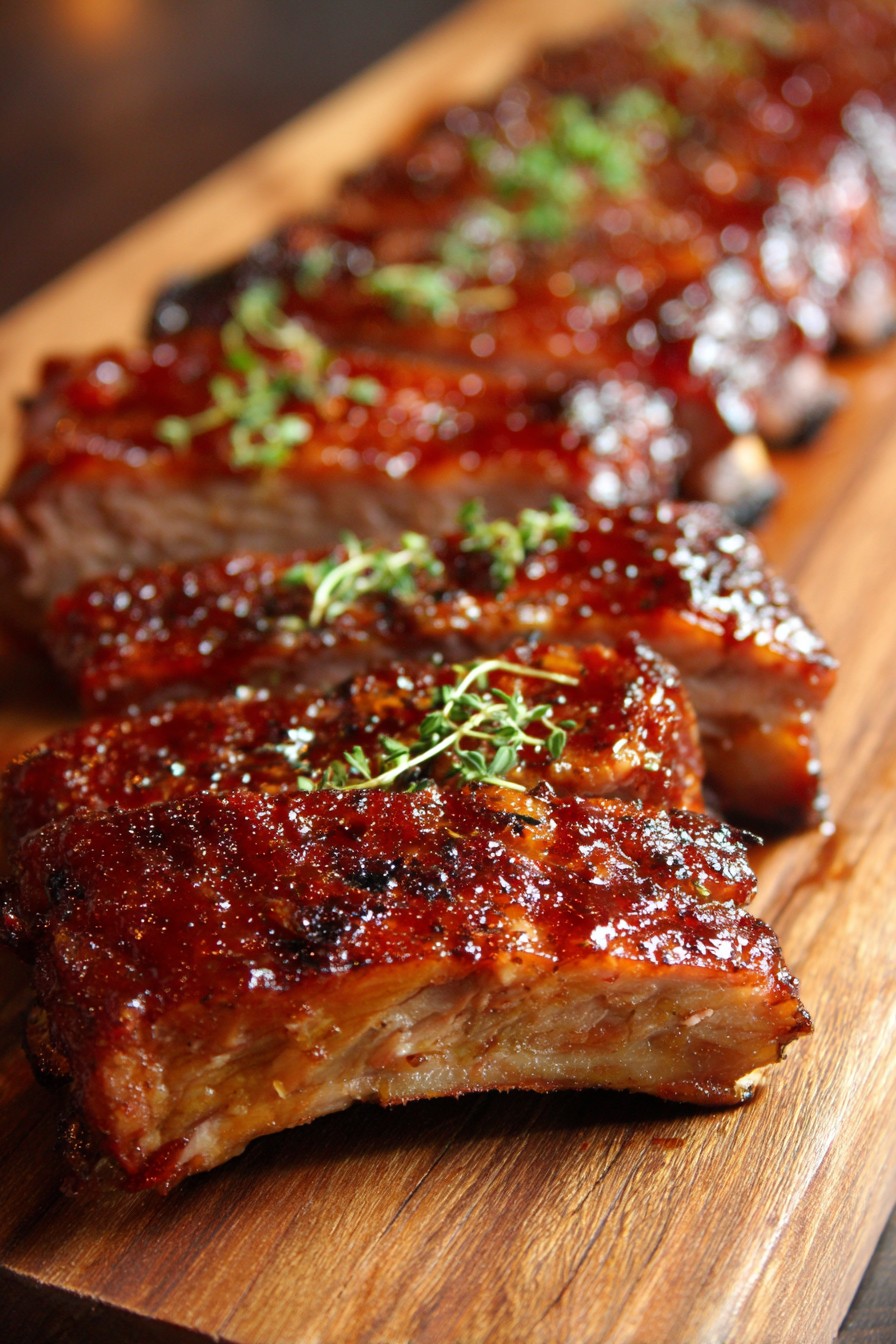
Slowly letting the tender Kansas City ribs transform in your oven fills the air with a romantic, smoky aroma that evokes the warmth and intimacy of cozy evenings inside. The blend of sweet, spicy, and savory flavors enraptures your senses, wrapping around you like a beloved sweater on a winter’s night, setting the perfect scene for a date night or a cherished dinner for two.
Why This Recipe Works
- The secret lies in the slow roasting, which lends tenderness and depth to each rib.
- A rich, caramelized glaze enhances the natural sweetness of the pork, contrasting beautifully with the spices.
- The flavor profile balances both smokiness from smoked paprika and sweetness from brown sugar.
- Simple preparation allows you to focus on savoring every memorable bite.
Ingredients
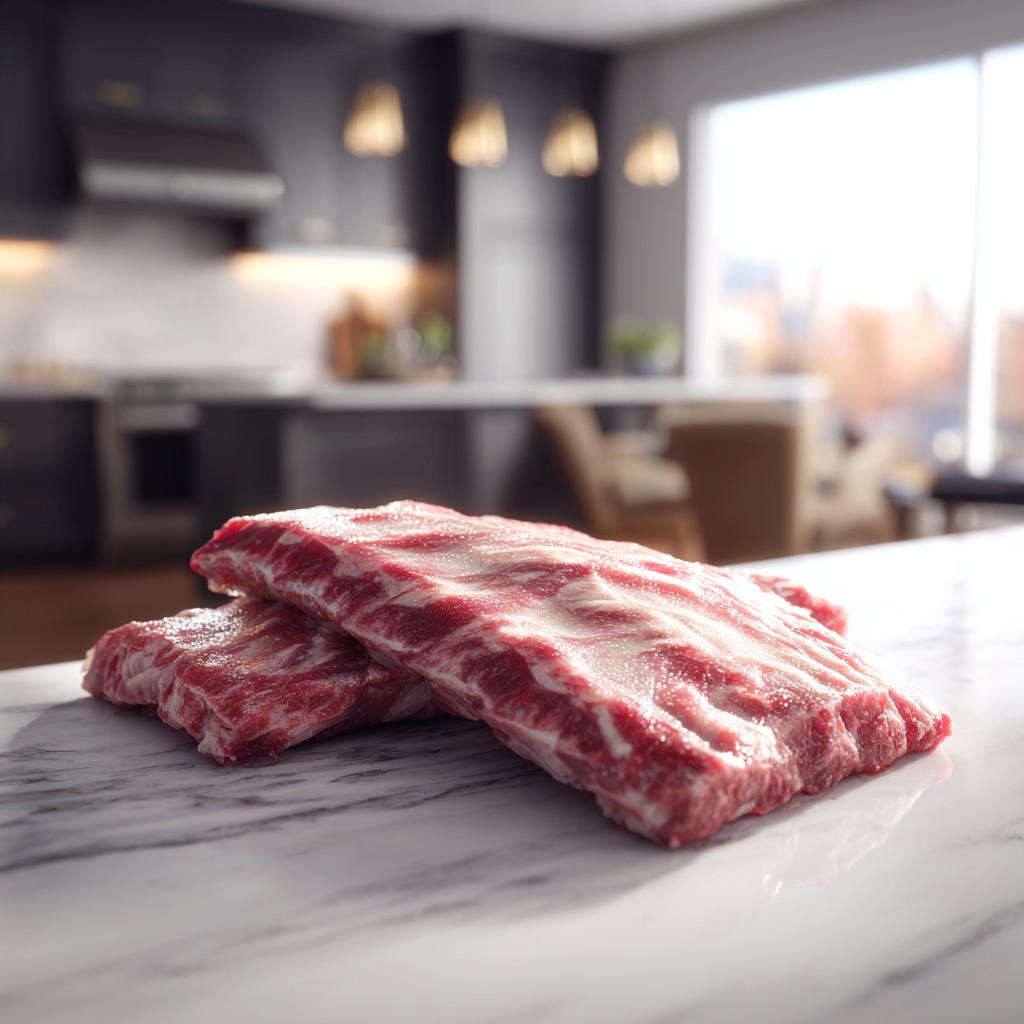
- 2 racks of baby back ribs, membrane removed
- 1 tablespoon brown sugar
- 1 tablespoon smoked paprika
- 1 teaspoon garlic powder
- 1 teaspoon onion powder
- 1 teaspoon salt
- 1/2 teaspoon black pepper
- 1 cup barbecue sauce
- 1 tablespoon apple cider vinegar
- 1 tablespoon honey
- Vegetable oil for greasing
Equipment Needed
- Large baking rack
- Heavy-duty aluminum foil
- Mixing bowl
- Pastry brush
- Sharp knife
Instructions
Step 1: Prepare the Ribs
Begin by removing the thin membrane on the back of each rib rack, crucial for allowing seasonings to permeate the meat. Lay them flat on a foil-lined baking sheet with the bone side facing down. Use a mix of brown sugar, smoked paprika, garlic powder, onion powder, salt, and black pepper. Gently massage this spice blend into the ribs, ensuring each one is lovingly coated. Wrap them in foil and let rest at room temperature for at least 30 minutes, allowing flavors to meld perfectly.
Step 2: Slow Roast the Ribs
Preheat your oven to 275°F, a tender temperature that ensures the meat succulently peels away from the bone. Place the foil-wrapped ribs on a baking rack for even heat distribution. Entrust the oven with your ribs and let them bronze beautifully over the next 3 hours. Each hour, check to ensure adequate heat; this practice can save you from uneven cooking. The low and slow method cannot be rushed, as patience will yield lipsmacking rewards.
Step 3: Craft the Glaze
As the ribs bake, craft your glossy glaze by stirring together 1 cup of rich barbecue sauce, a splash of apple cider vinegar, and a generous tablespoon of honey. This harmonious blend will add both tanginess and sweetness to the ribs. Heat this mixture gently, allowing the honey to dissolve fully. Make a habit of tasting as you stir; adjustments in seasoning can be made with a pinch more sugar or vinegar.
Step 4: Apply the Glaze
Withdraw the ribs from the oven and carefully unwrap them, exposing the succulent, steaming racks. Brush the warm glaze across each rib with your pastry brush, ensuring a glossy even coat. Revel in the aromatic symphony wafting upward as the ribs return, unwrapped, to the oven now set to 350°F. Twenty minutes gives the glaze the opportunity to set and caramelize, a step that sears flavor atop juicy flesh, ensuring each bite captures pure delight.
Step 5: Serve and Savor
Let the ribs rest on a cutting board, allowing juices to distribute evenly back into the luscious meat. Cut them into your desired serving portions with a sharp knife, experiencing the tender cut that signifies perfection. The moment they touch your plate is yours to indulge in. Consider a side of coleslaw or cornbread to accompany this romance. Serve immediately while warmth embraces you, as does the comforting bond of a meal prepared with love.
Tips and Tricks
For an added touch of sophistication, try adding a dash of chili powder to the dry rub for a spicy kick. If time allows, marinate the ribs overnight in the refrigerator; the deeper infusion of flavors will be worth the wait. You can also add a few drops of liquid smoke for an intensified aromatic experience.
Recipe Variations
- Add a tablespoon of cayenne to the glaze for a spicy twist.
- For a hint of fruitiness, incorporate some apricot or peach preserves into the glaze.
- Experiment by replacing apple cider vinegar with balsamic for a richer depth of flavor.
- Use a mix of different barbecue sauces to create your own signature glaze.
Frequently Asked Questions
Q: Can I prepare the ribs on a grill instead of in an oven?
A: Absolutely! Slow-cook the foil-wrapped ribs on a grill over indirect heat at the same low temperature. Finish with glaze over direct heat to caramelize, ensuring iconic grill marks.
Q: Can I use spare ribs instead of baby back ribs?
A: Yes, you can substitute spare ribs, though they may require an additional hour of cooking time due to their larger size. Their flavor is slightly more intense.
Q: How do I store leftover ribs?
A: Store any remaining ribs in an airtight container in the refrigerator for up to three days, reheating gently in the oven covered with foil to retain moisture.
Summary
This Kansas City ribs recipe guides you through an intimate culinary experience, creating a truly spectacular meal. Each savory bite promises satisfaction, enveloping you in a delicious romance.
Kansas City Ribs
4
servings30
minutes200
minutesIngredients
Instructions
- 1 Remove membranes from ribs, then apply a dry rub made of brown sugar, smoked paprika, garlic and onion powder, salt, and black pepper. Wrap in foil and rest for 30 minutes.
- 2 Preheat oven to 275°F; roast ribs wrapped in foil on a rack for 3 hours, ensuring even cooking.
- 3 Combine barbecue sauce, apple cider vinegar, and honey, heat until blended, and adjust seasoning to taste.
- 4 Brush glaze on ribs and bake unwrapped at 350°F for 20 minutes to caramelize. Let them rest before serving.